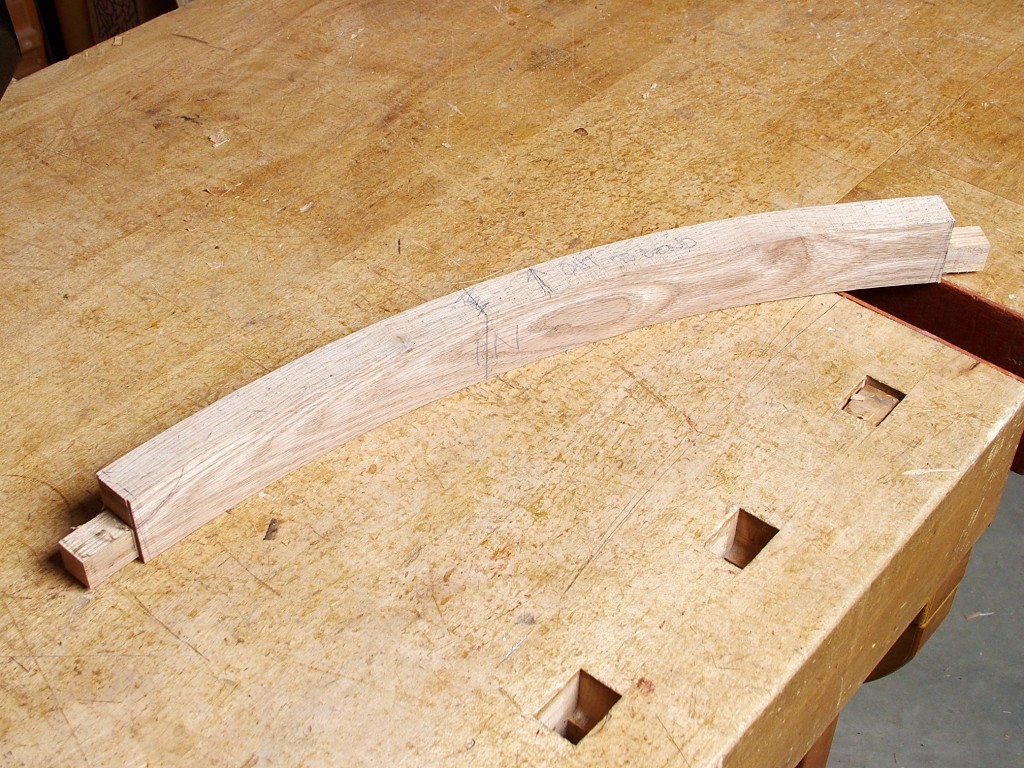
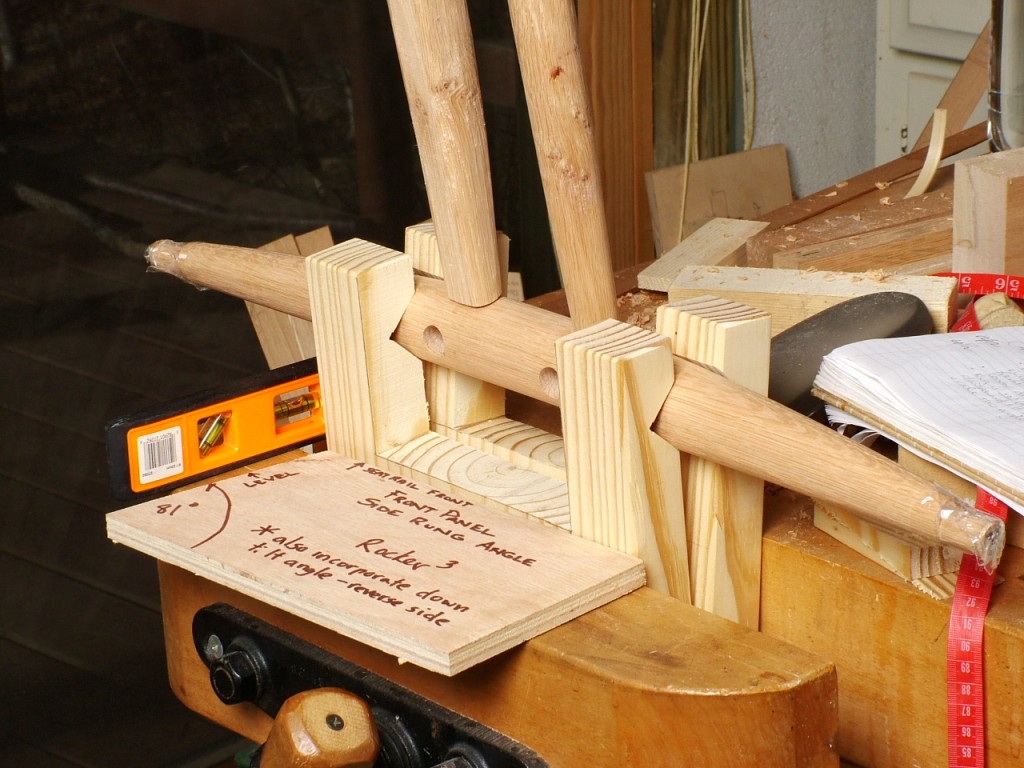
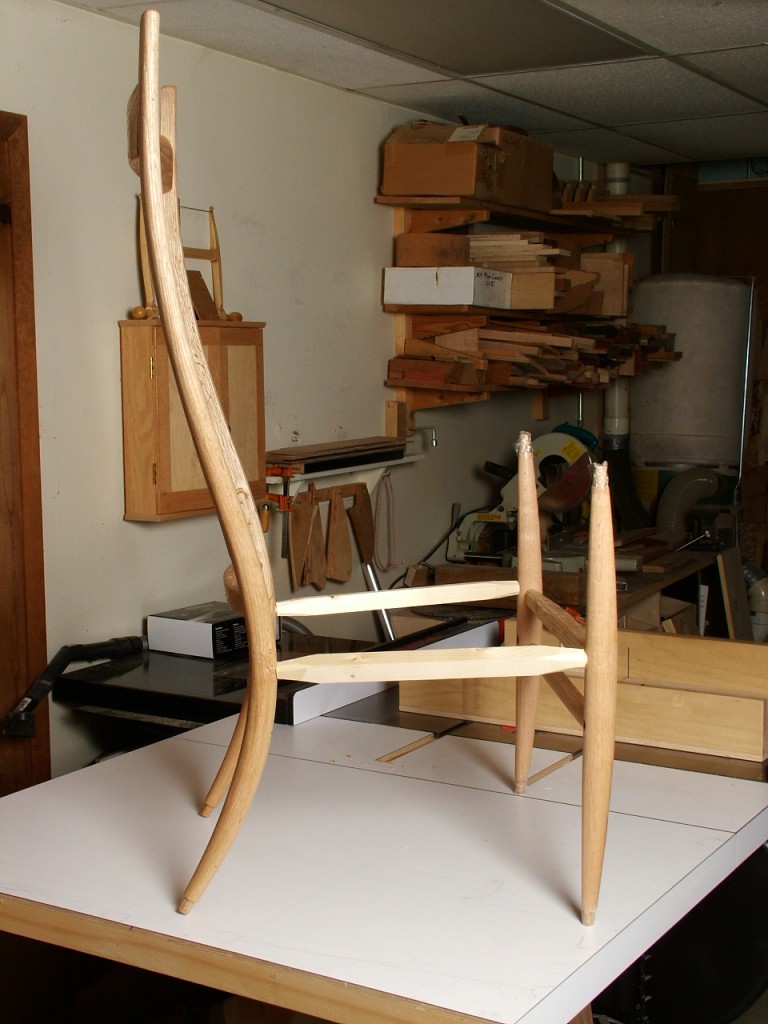
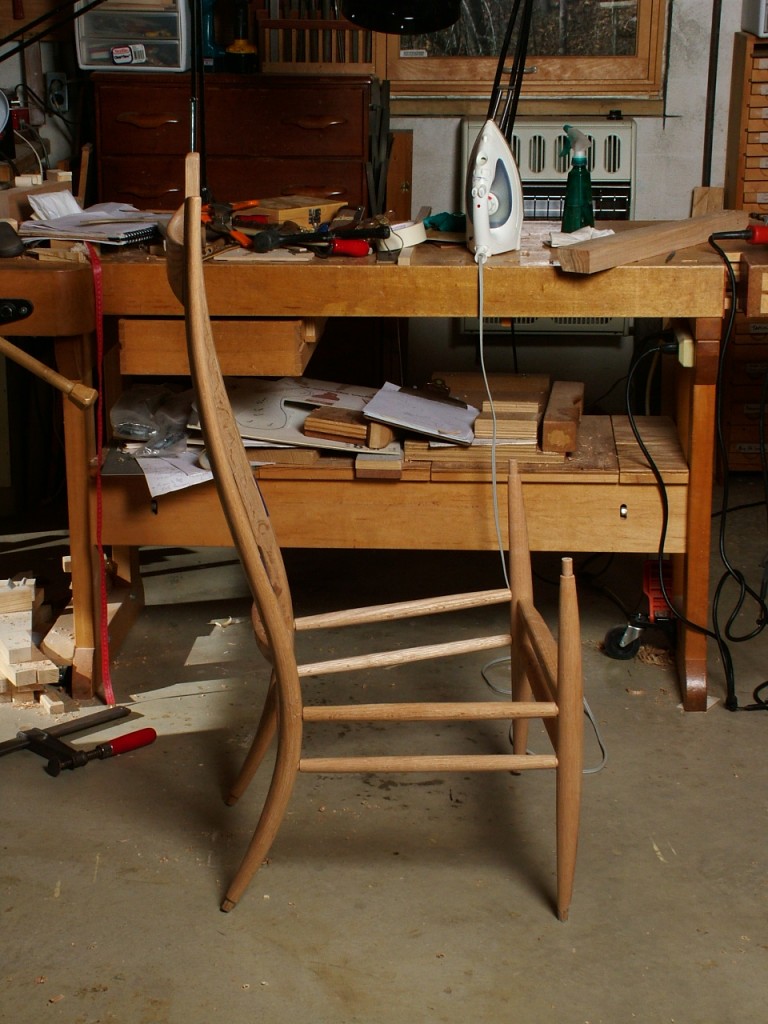
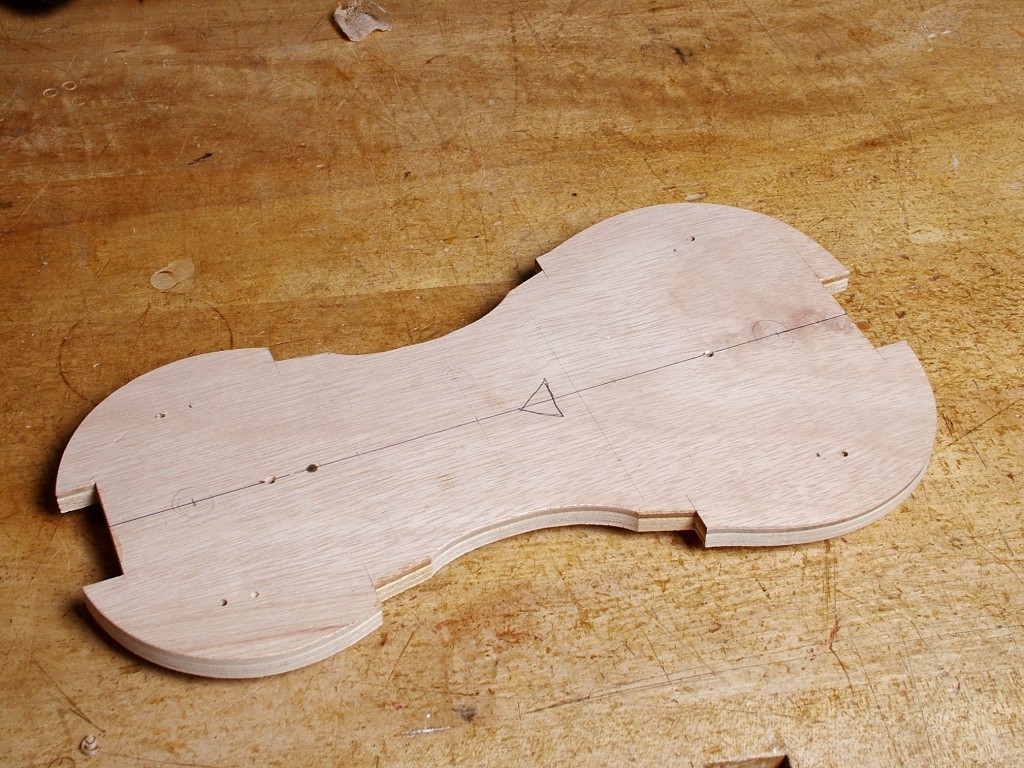
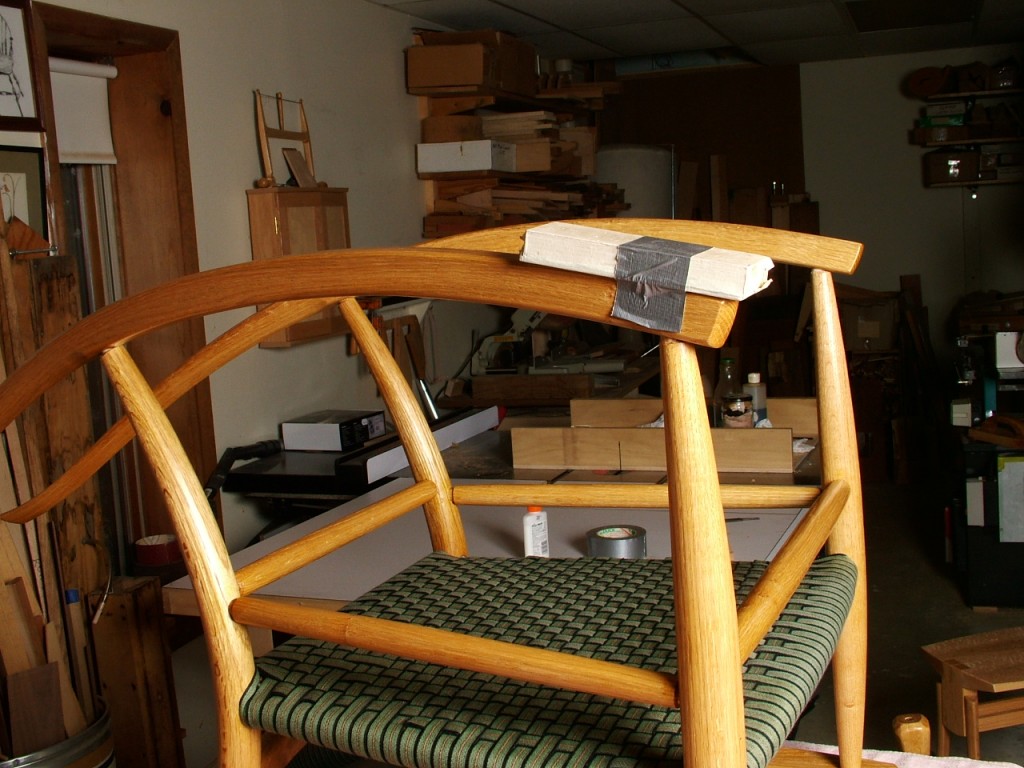
Time to finish up this rocker! I locate the mortices in the back posts with the aid of a dummy armrest to indicate where the armrest should be joined.
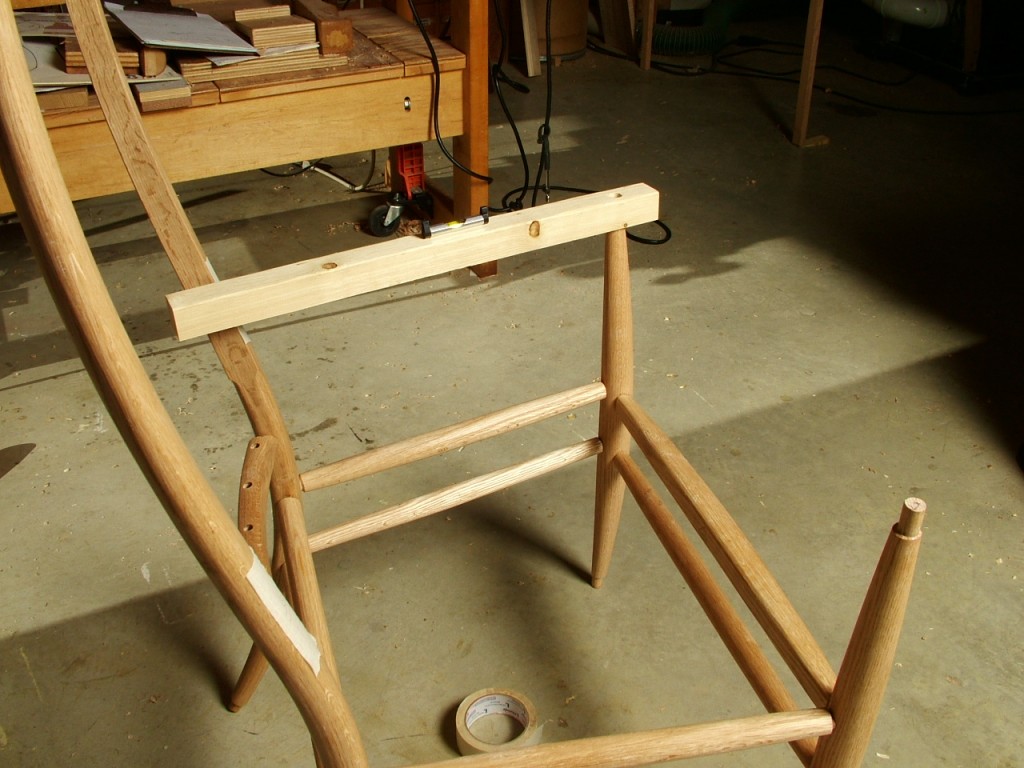
Dummy Armrest
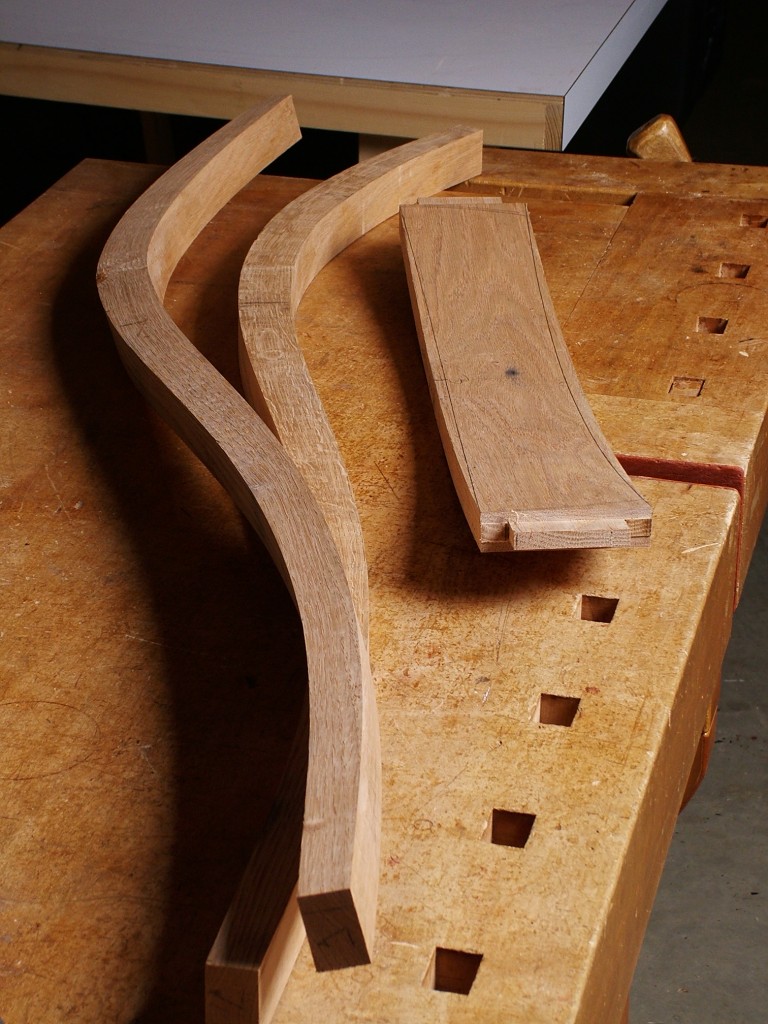
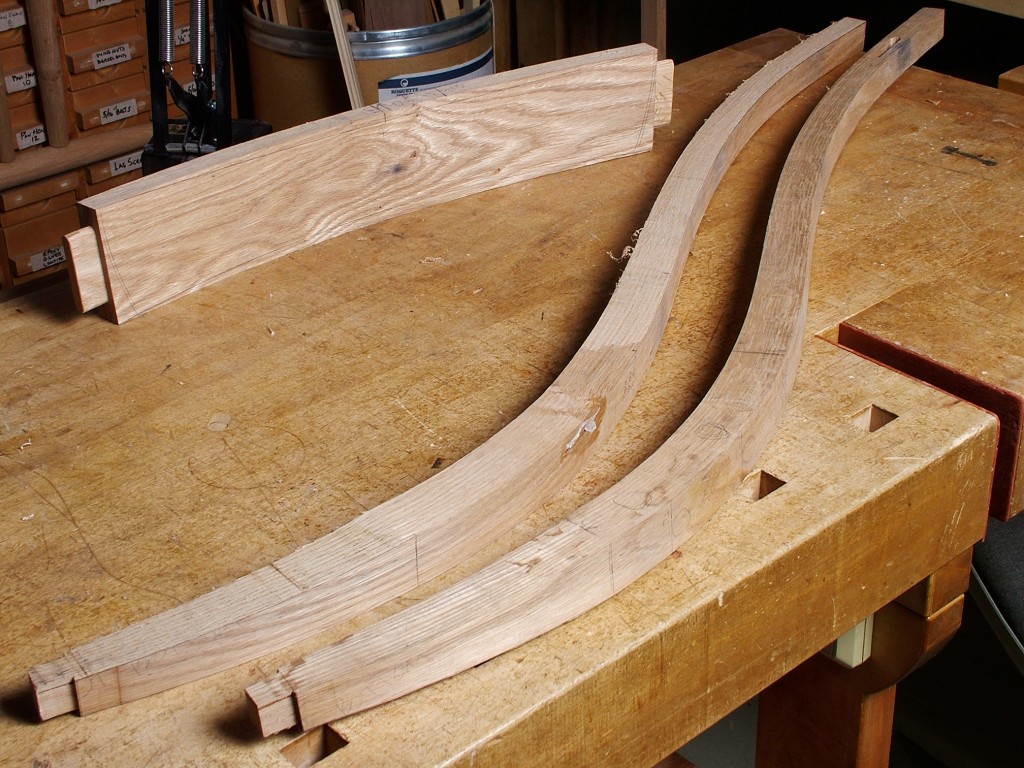
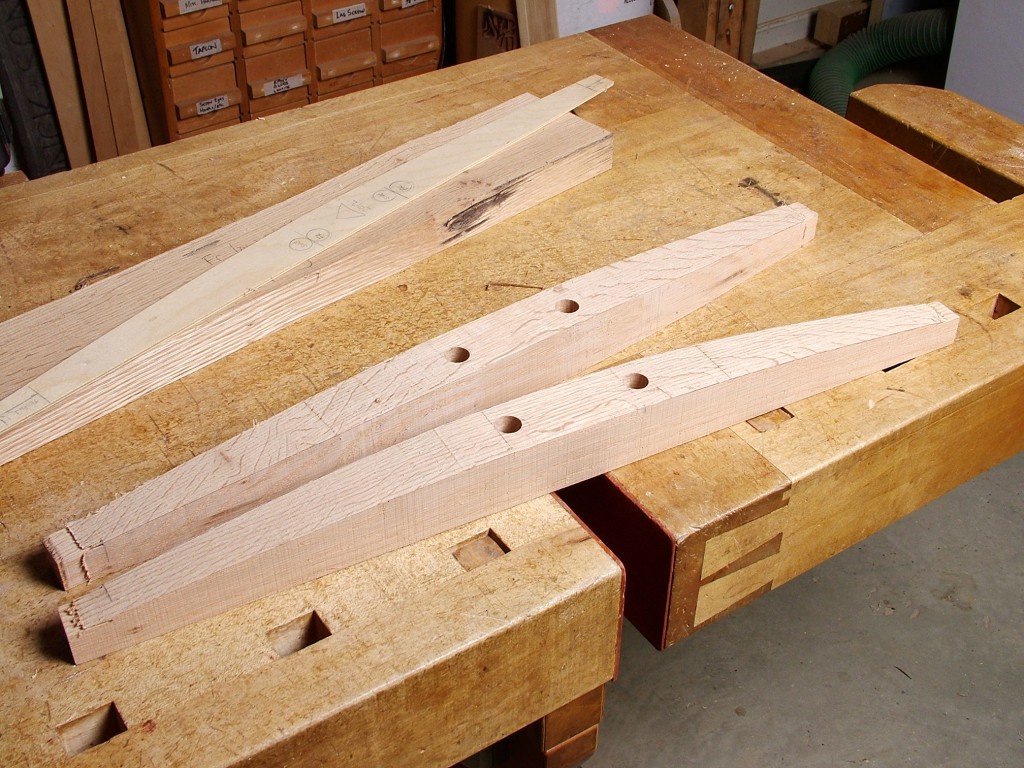
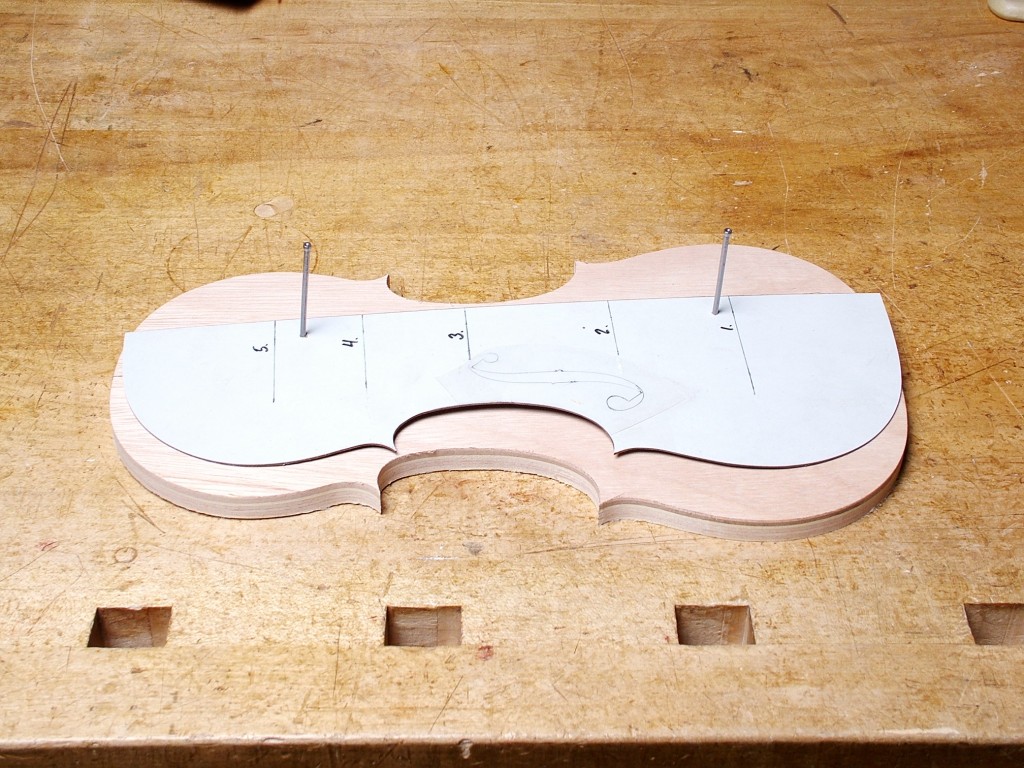
The template for the arm rest gives me locations for mortices and tenons as well as the general outline.
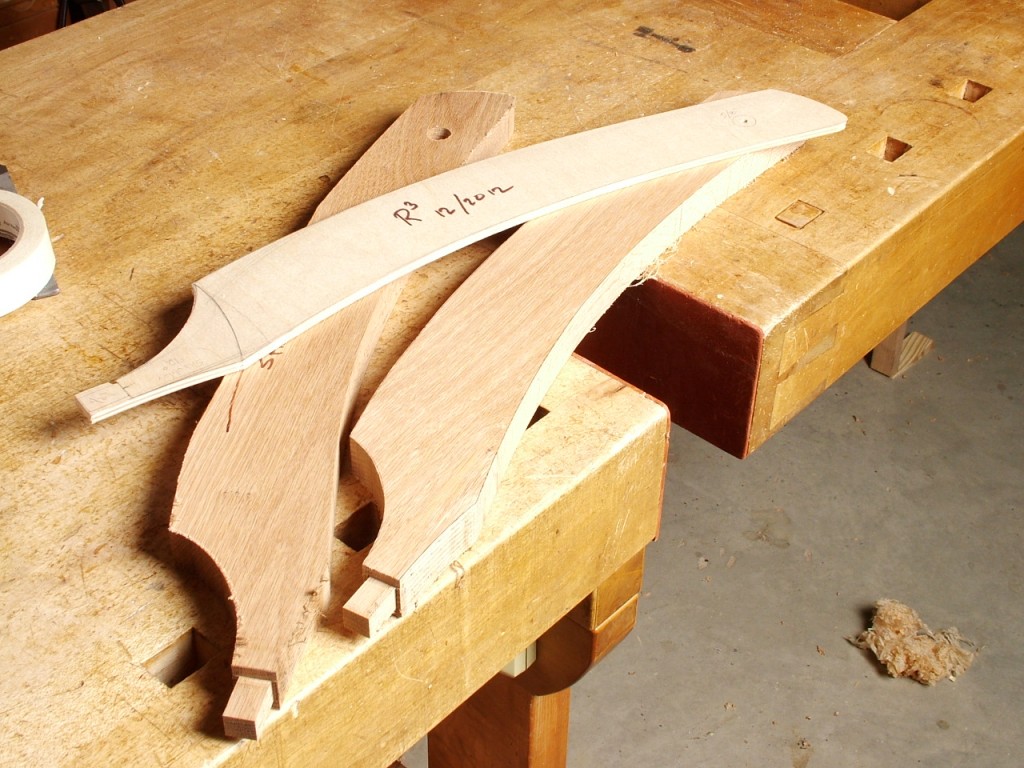
Armrest Template
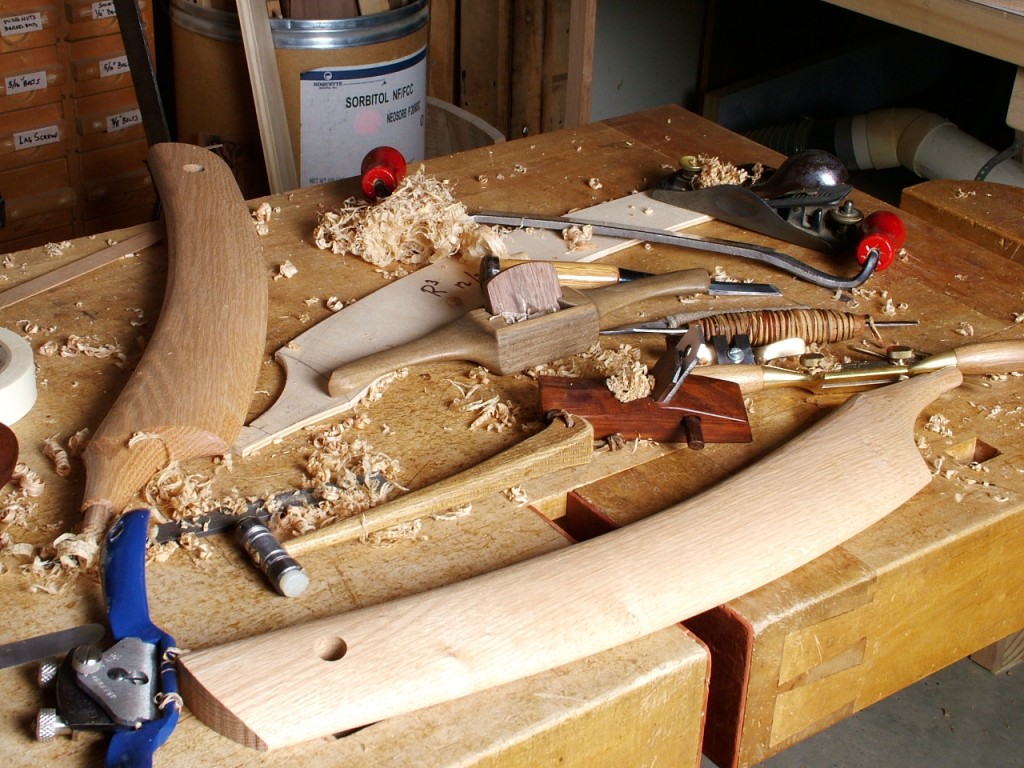
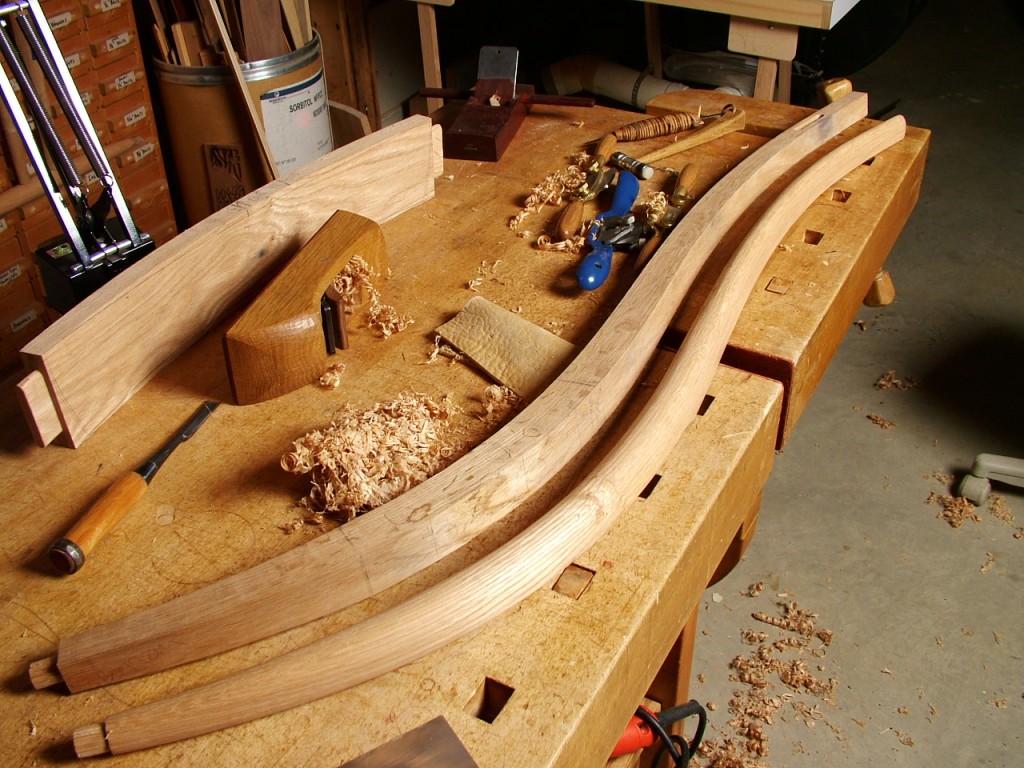
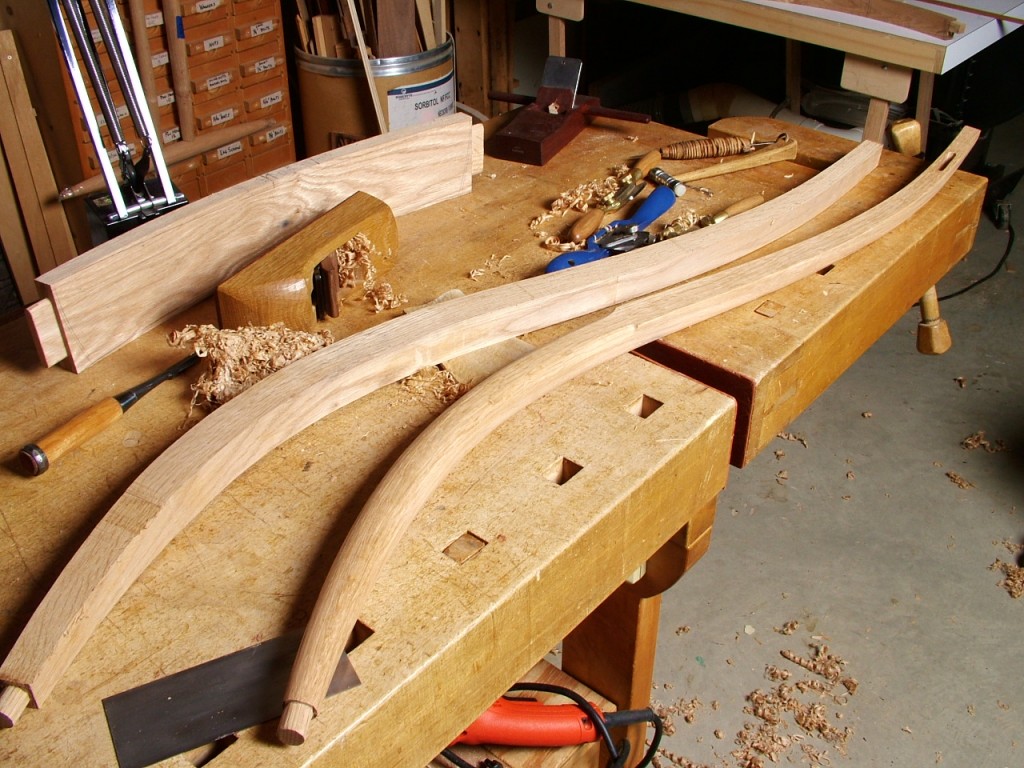
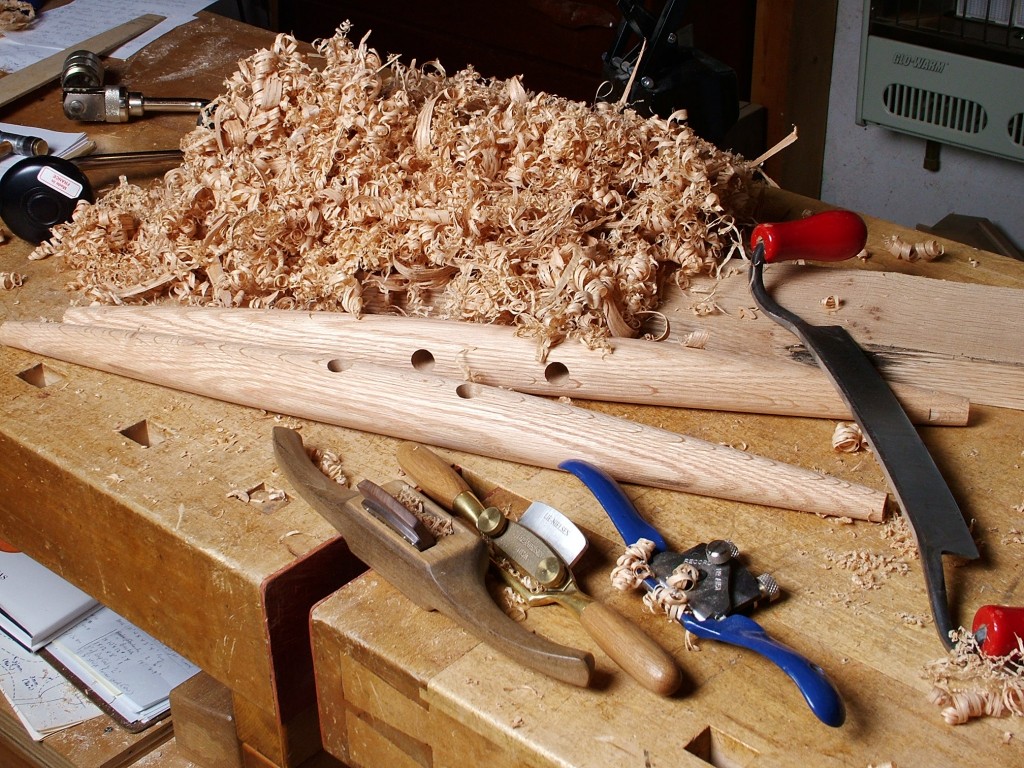
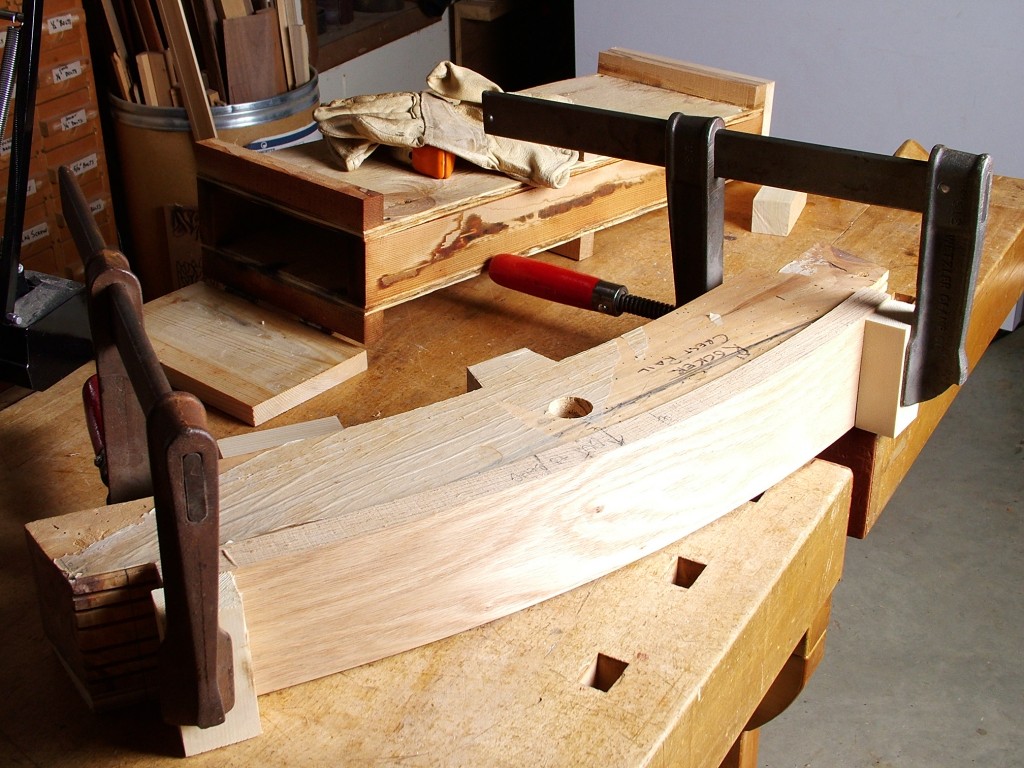
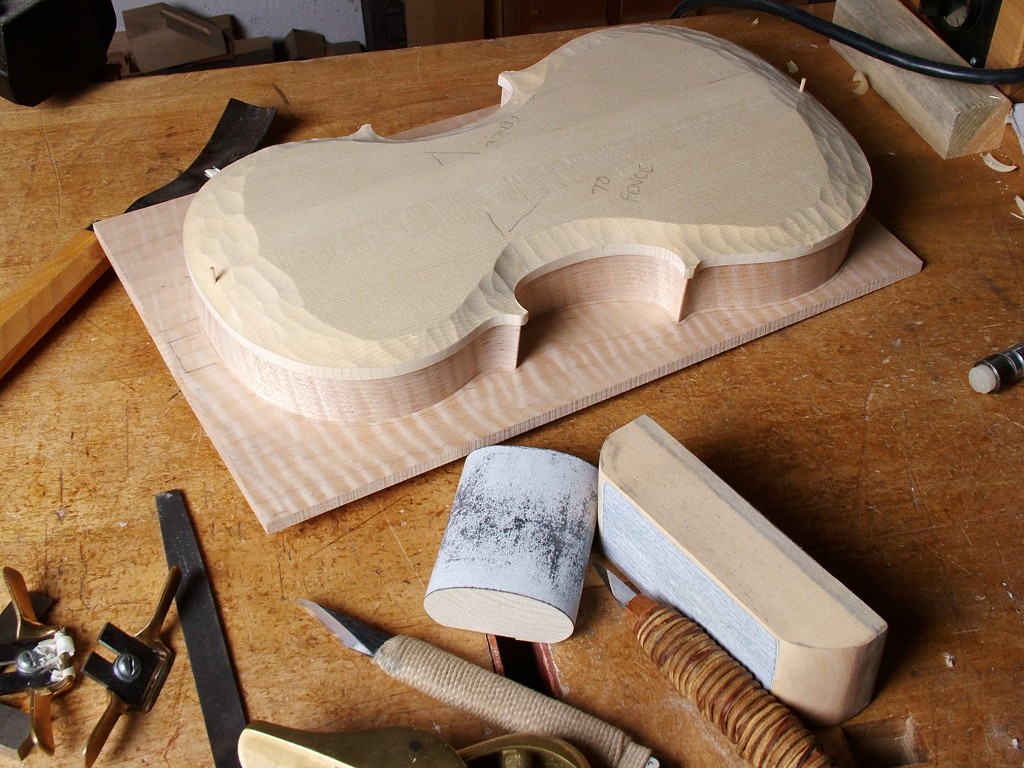
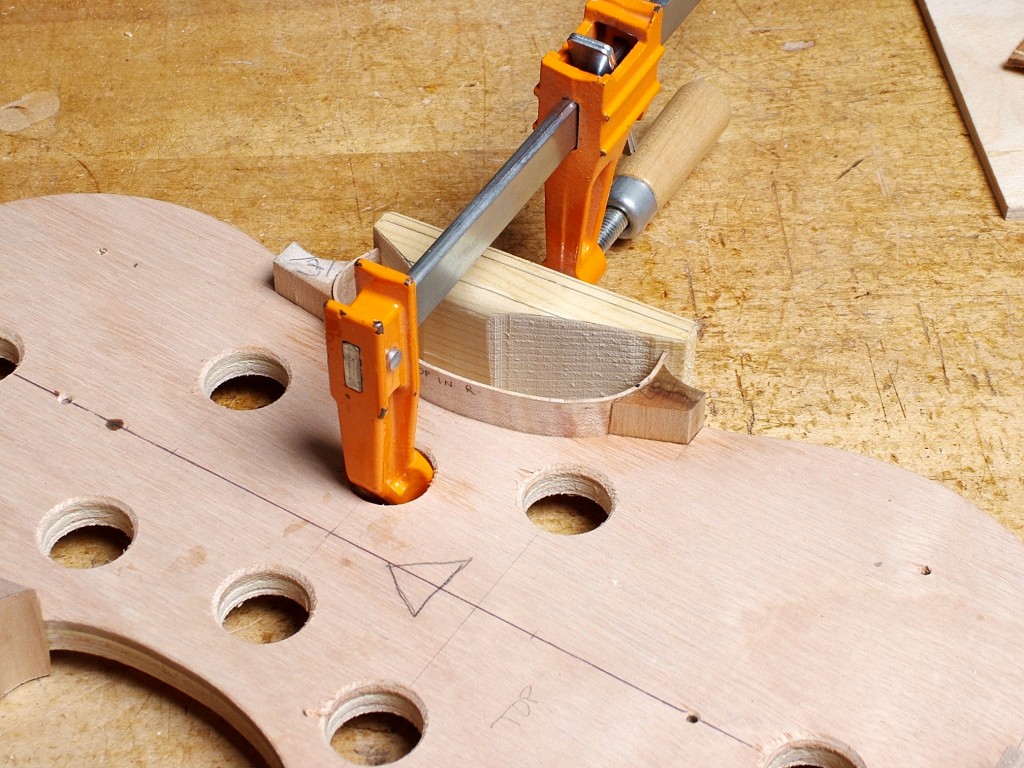
Shaping Armrest
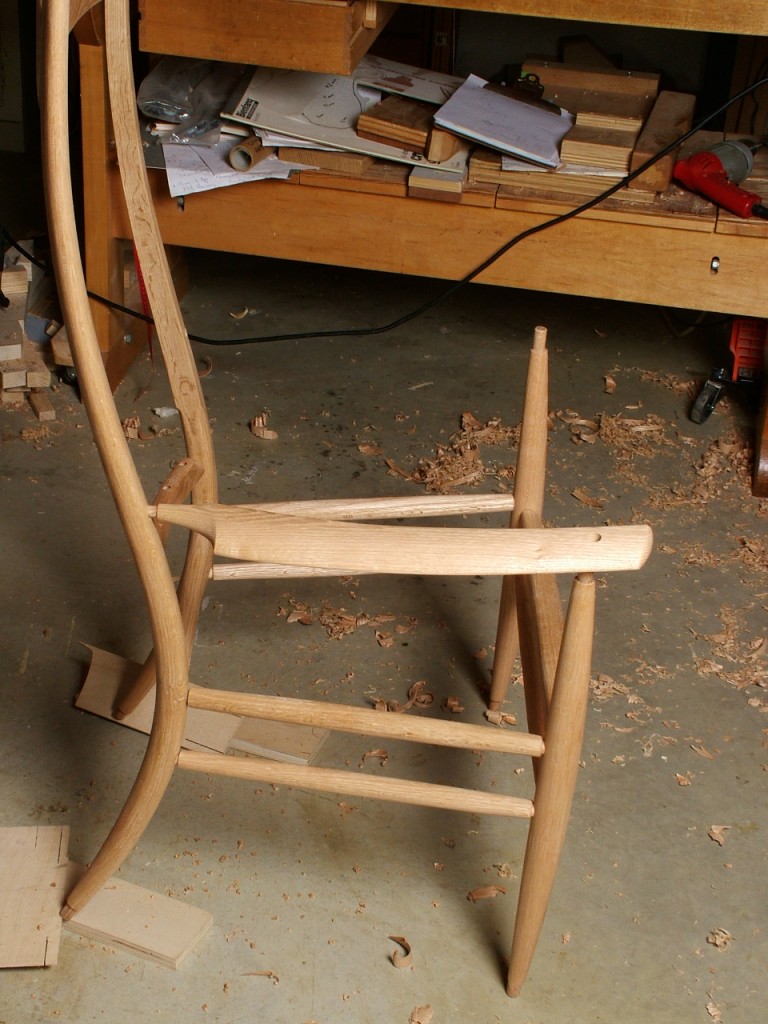
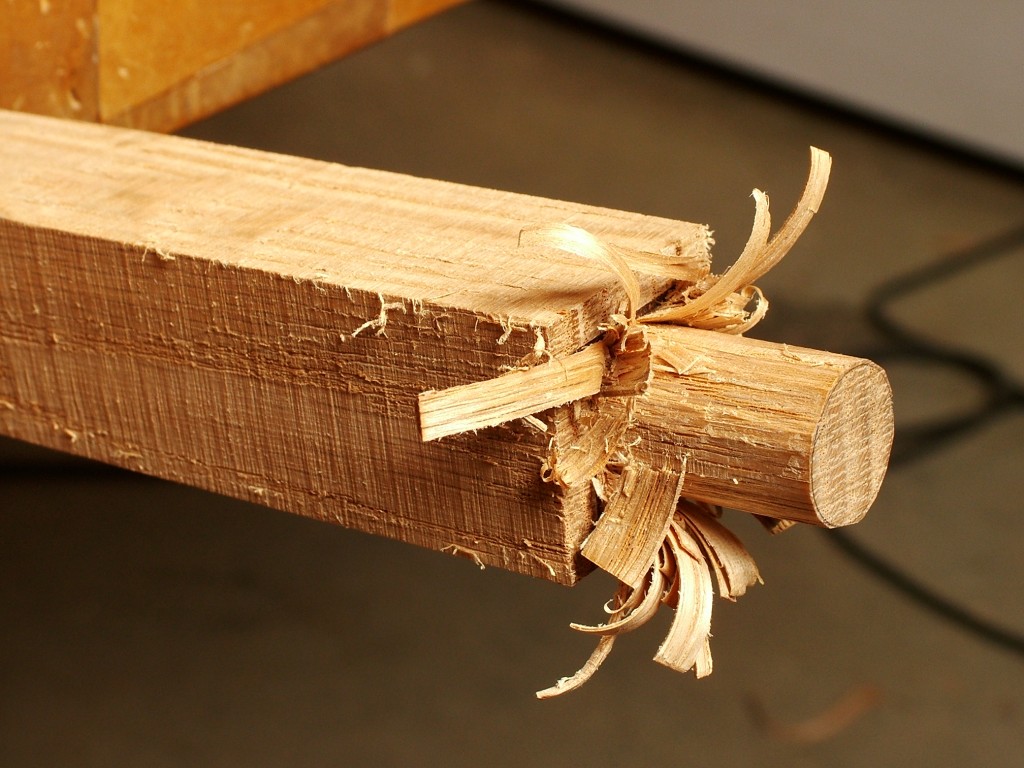
Attaching Armrest
I shaped the back splats and rockers and applied finish to everything prior to seat weaving. I toned the oak with a couple coats of very dark garnet shellac and followed with two coats of an oil/varnish mixture I made up from Sutherland and Welles tung oil, uralkyd varnish, and their citrus based solvent. In this instance the mix was 1 part oil : 2 parts varnish : 3 parts solvent — very nice and very low toxicity!
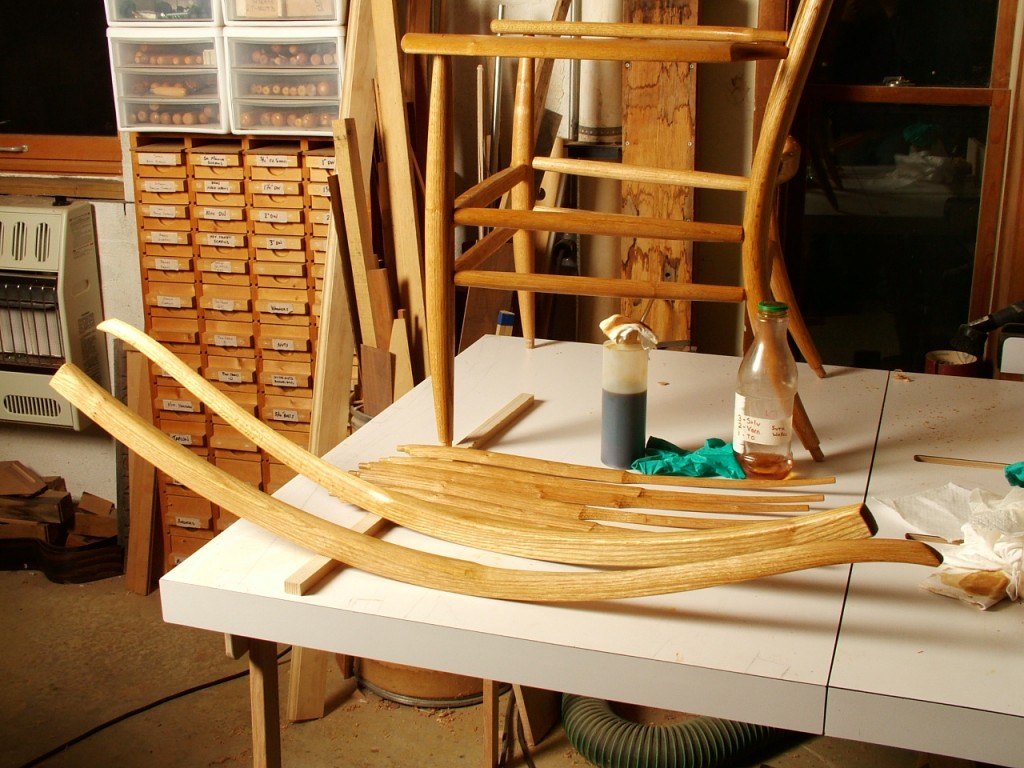
Finishing
With the finish completed I went around and pinned the joints. The front and back assembly rungs are pinned by virtue of the side rungs slightly overlapping them. I pinned the side rungs on the inside with 5/32″ D. bamboo skewer. More visible joints are pinned with walnut pegs.
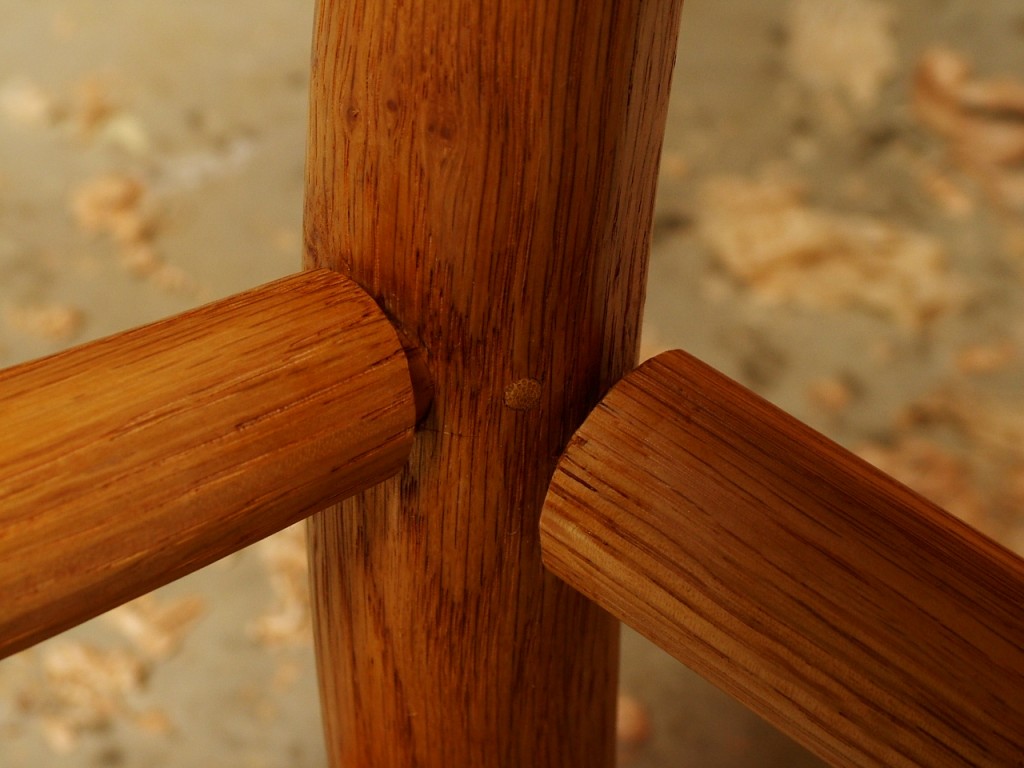
Rung Pinned with Bamboo Skewer
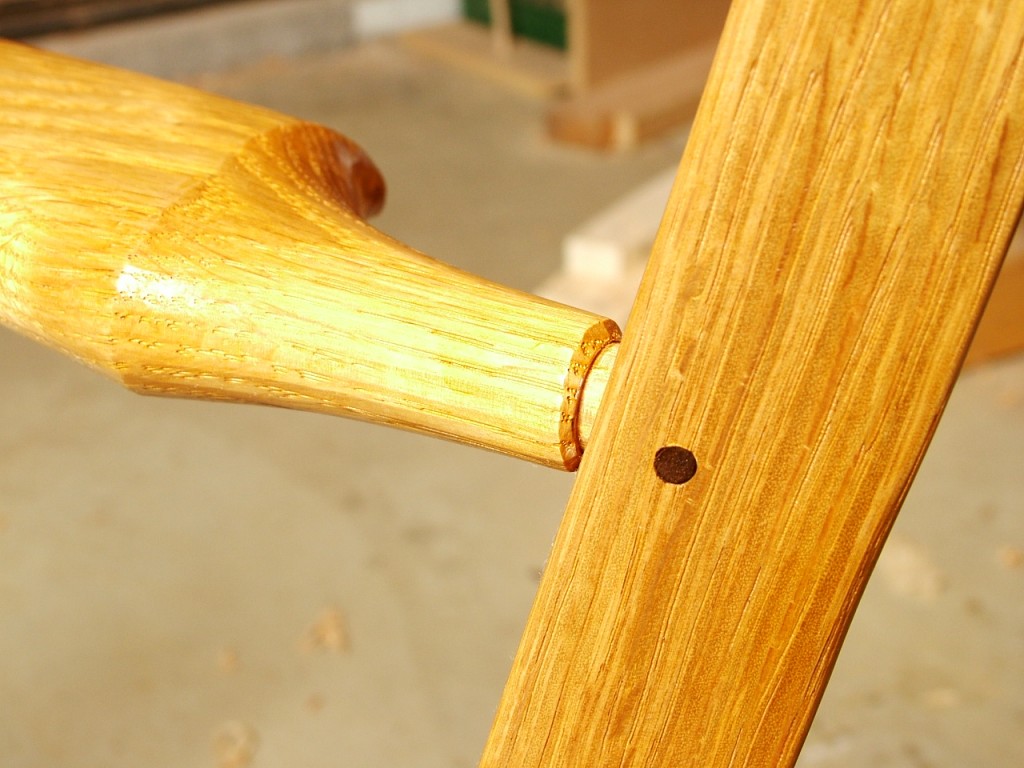
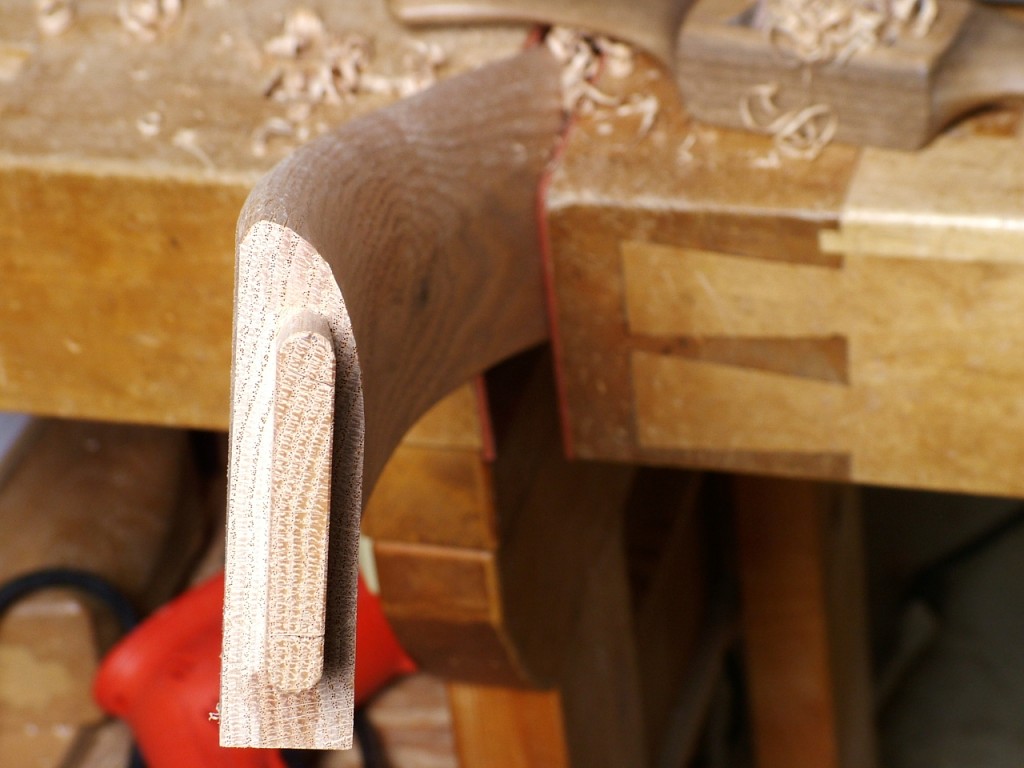
Armrest Pinned with Walnut Peg
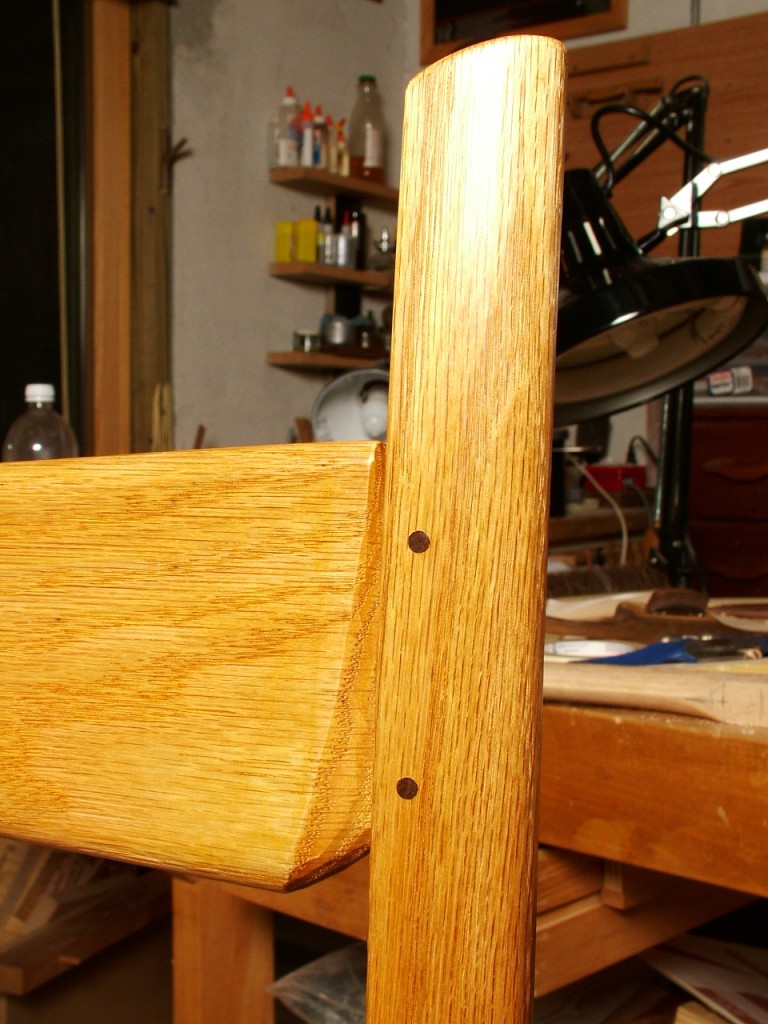
Crest Rail Pinned with Walnut Peg
I wove the seat from cotton Shaker seat tape in a simple over-under pattern, both top and bottom surfaces. A cushion of dense batting covered with muslin lies between the two woven layers.
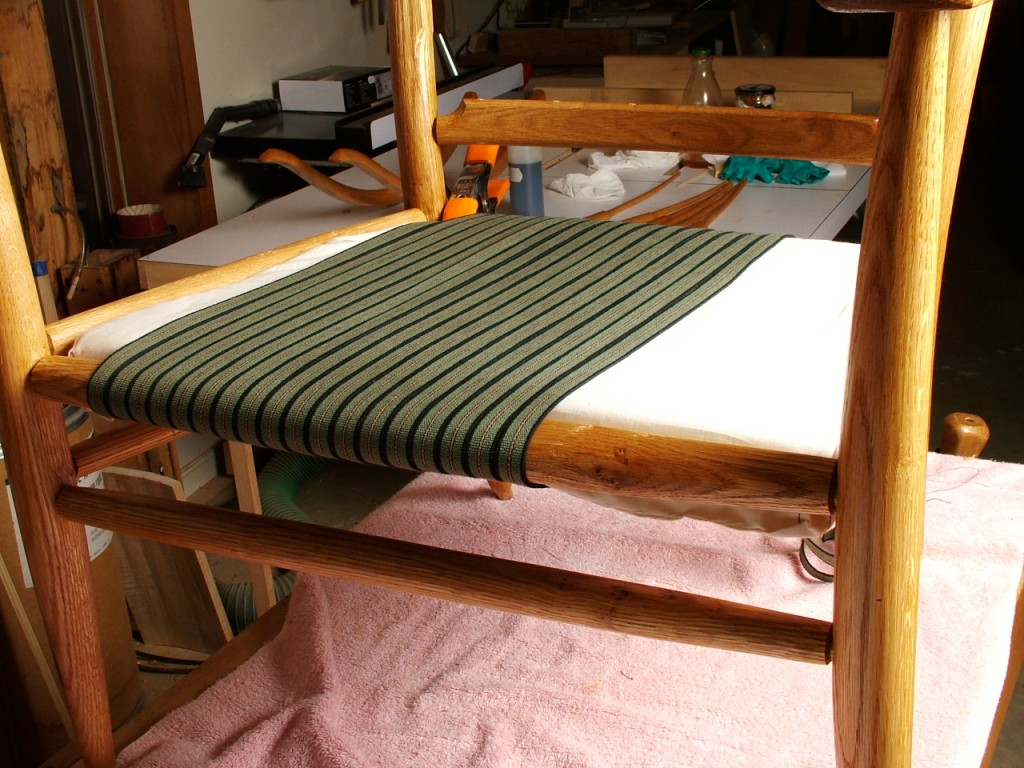
Beginning Warp with Cushion in Place
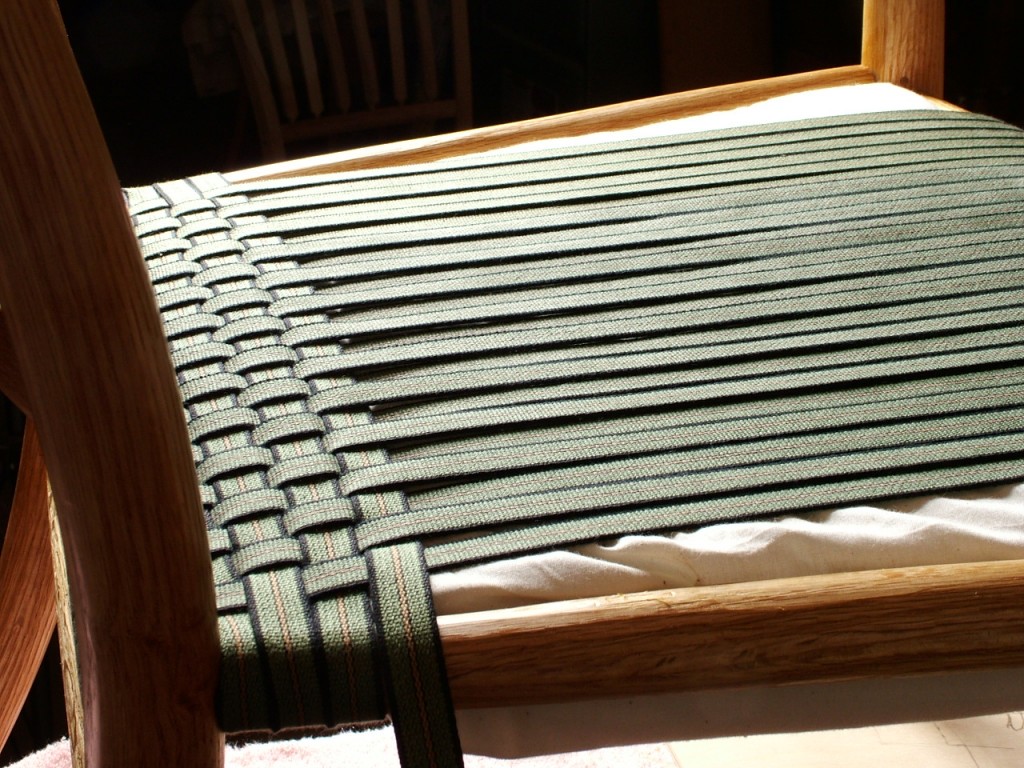
Starting Woof
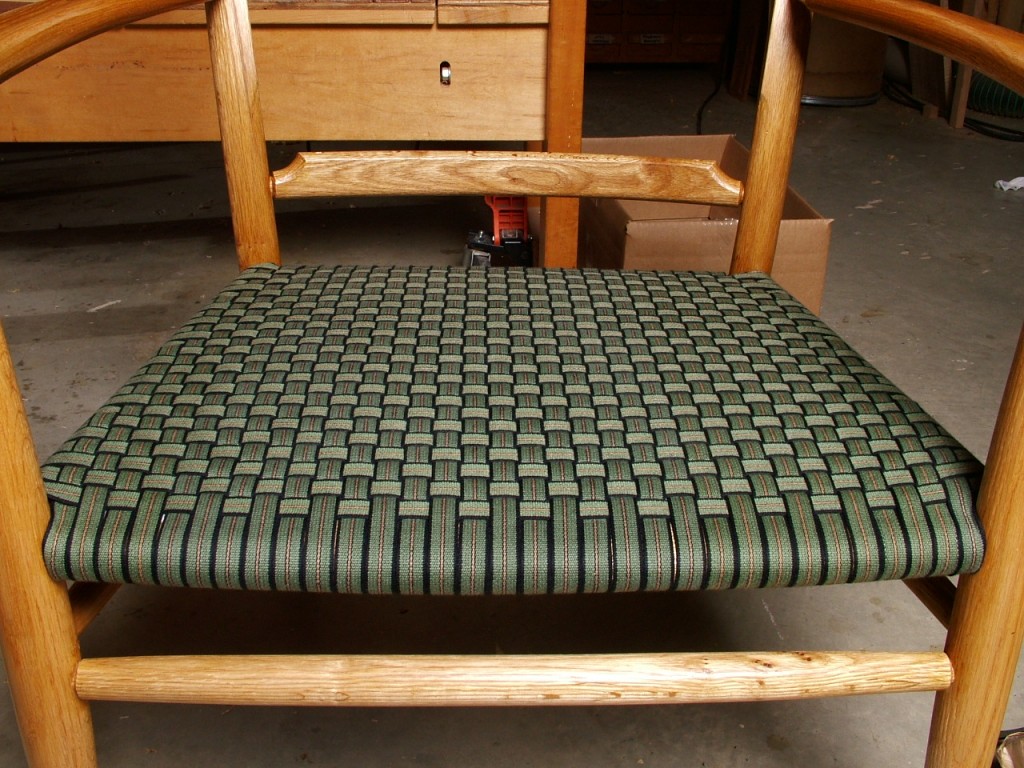
- Completed Seat
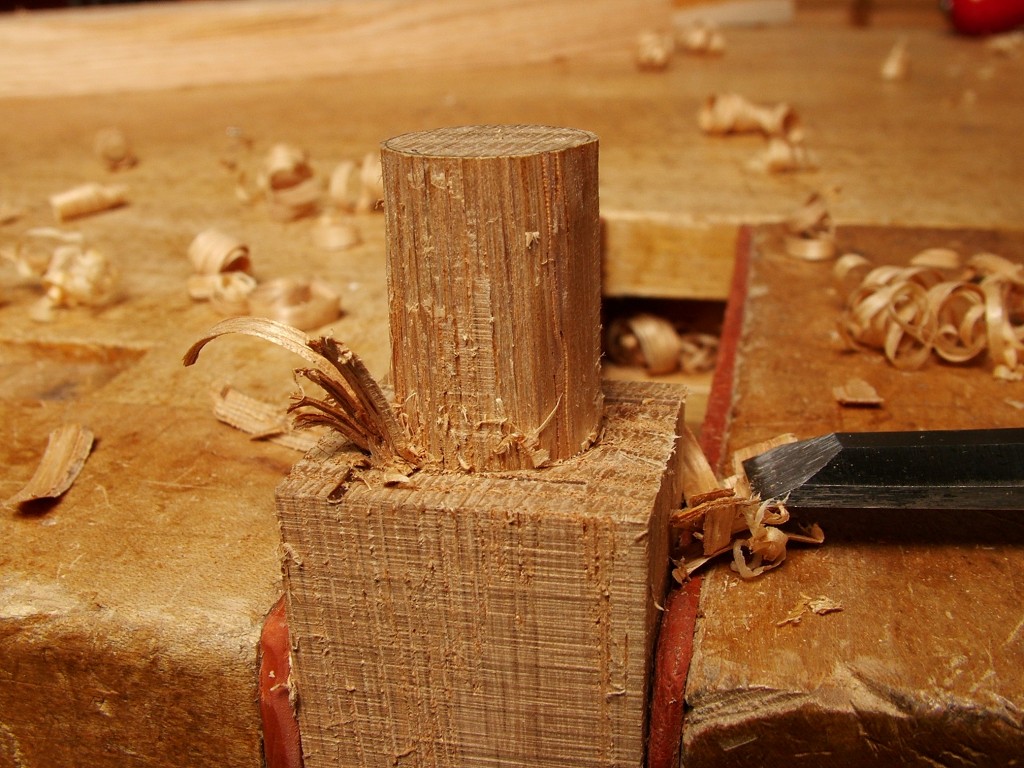
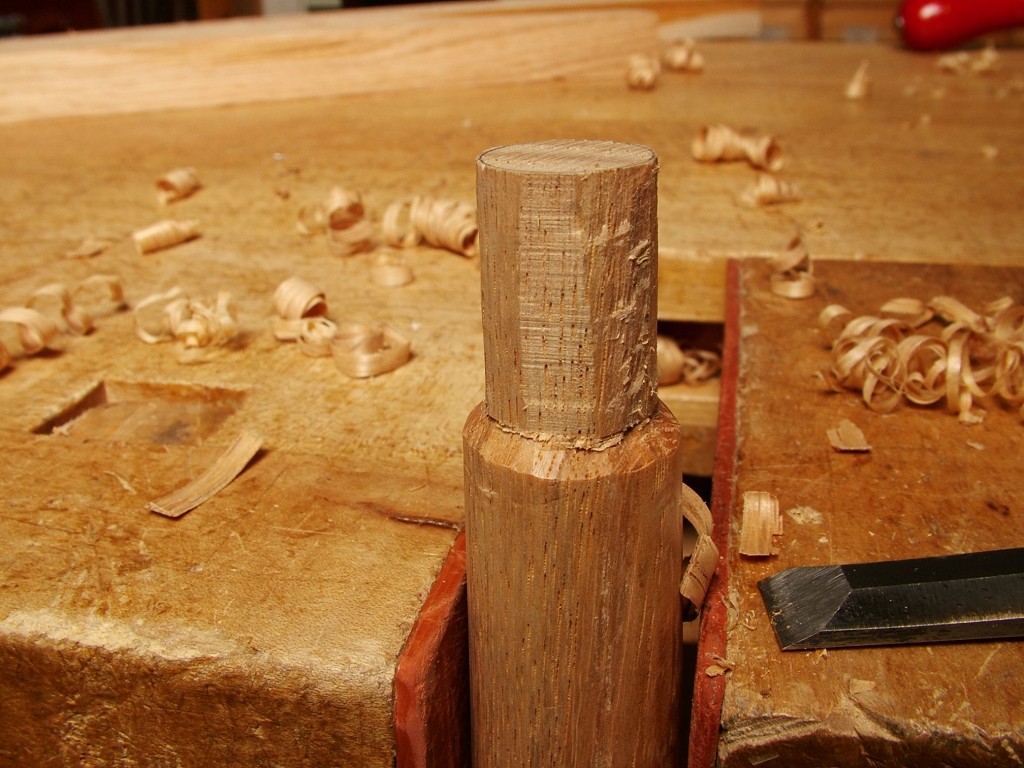
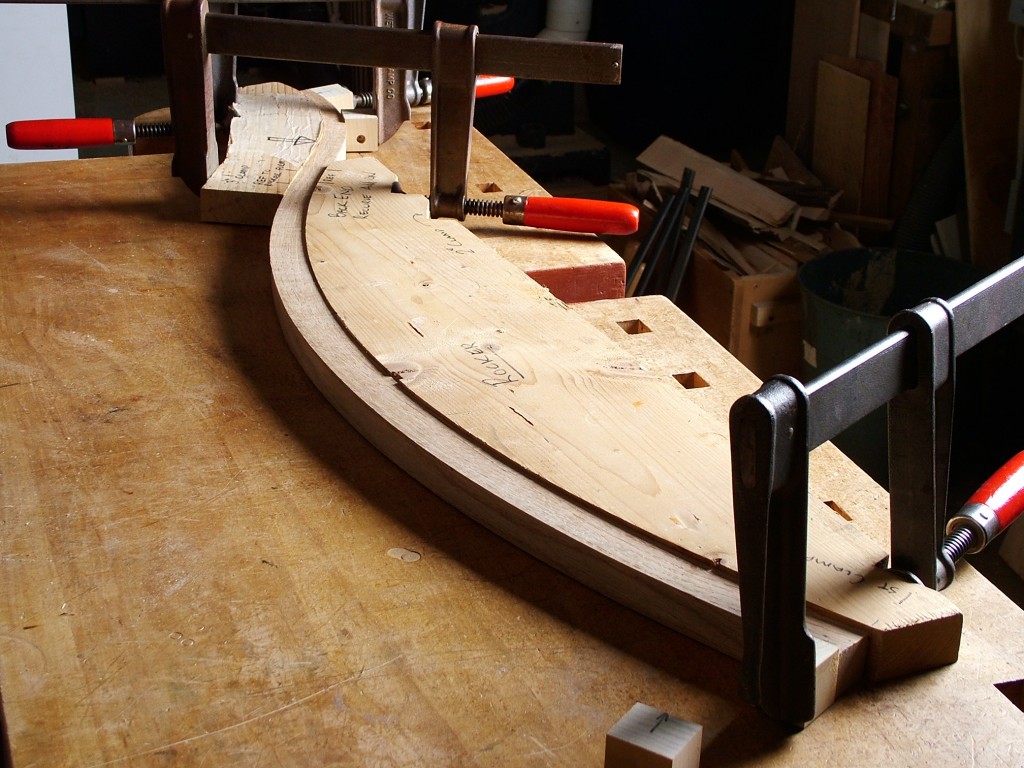
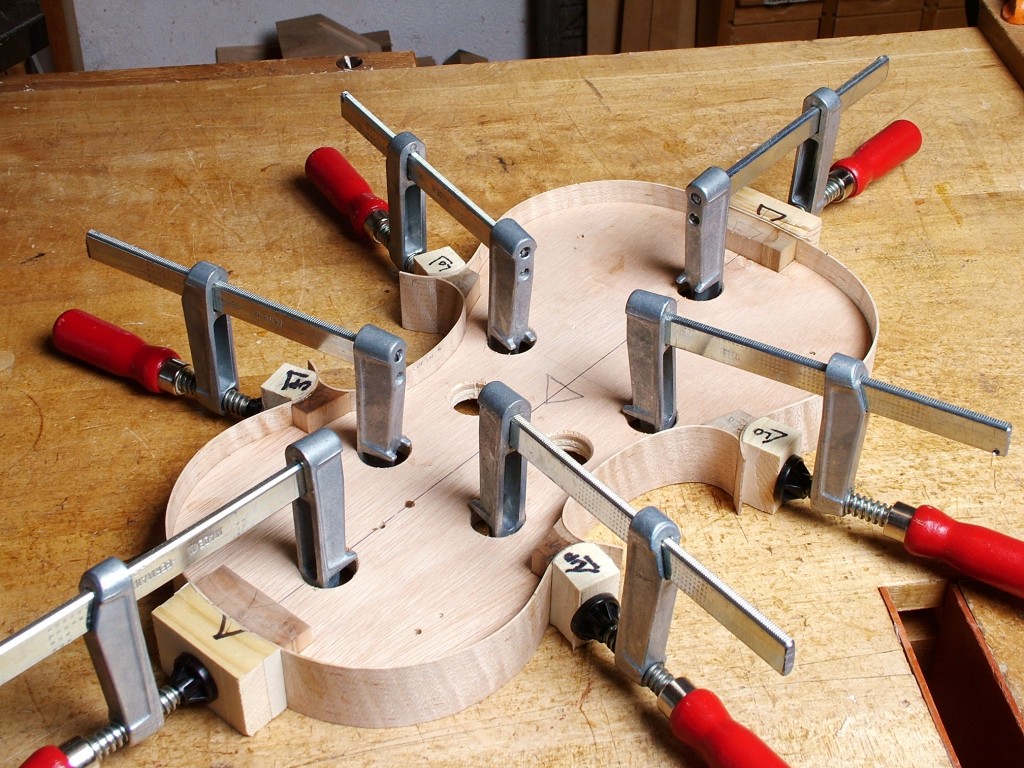
The next step is to locate the post holes in the rocker, drill them and pound the rockers home.
Attaching Rockers
The splats are inserted into the crest rail, which has extra clearance in the holes, so the bottom of the splat can clear the lower rail for insertion of the lower tenon.
And then the rocker is complete.
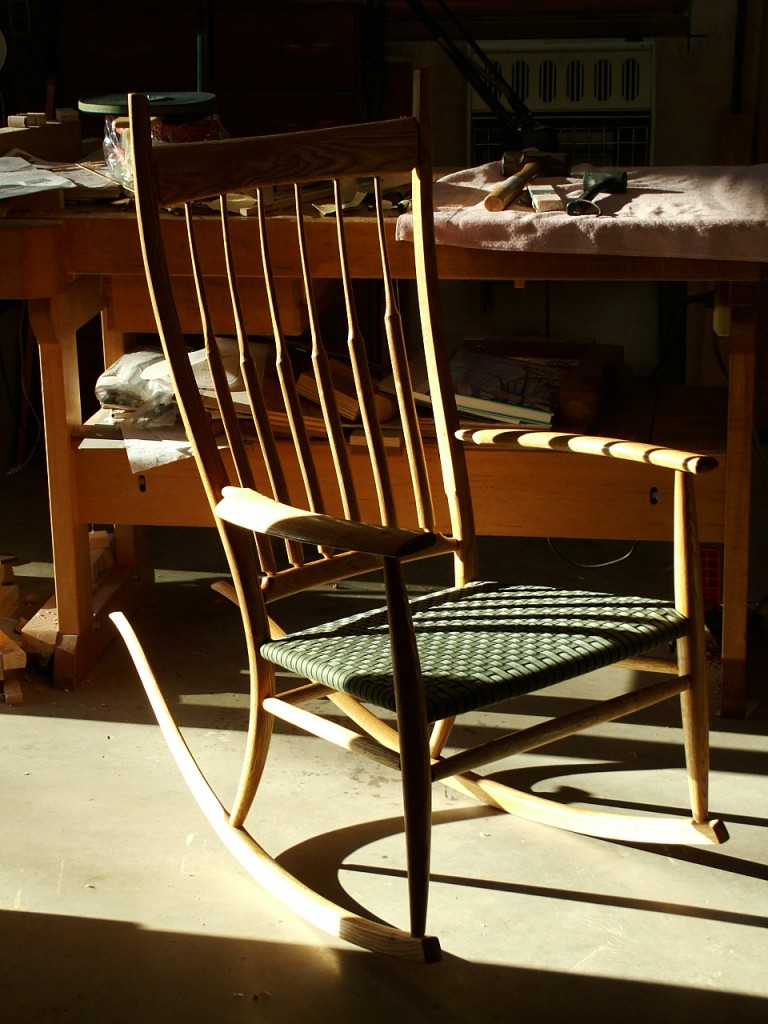
Completed Rocker