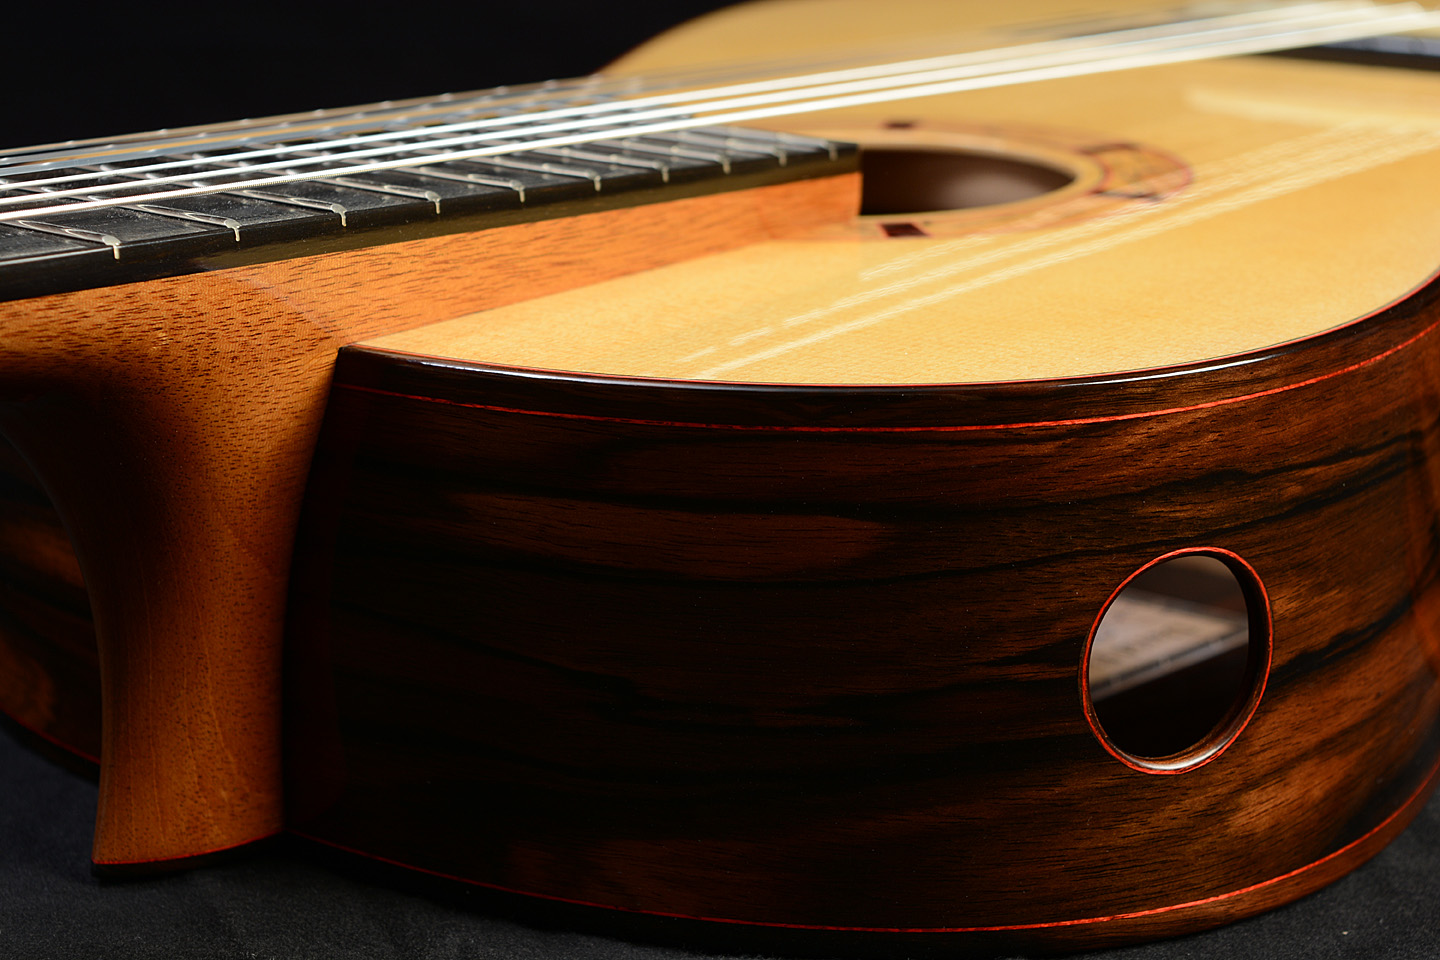
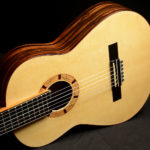
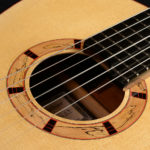
An elevated neck joint is essentially an extension of the neck shaft over the guitar top. This makes for a very flat and solid transition from the neck shaft to 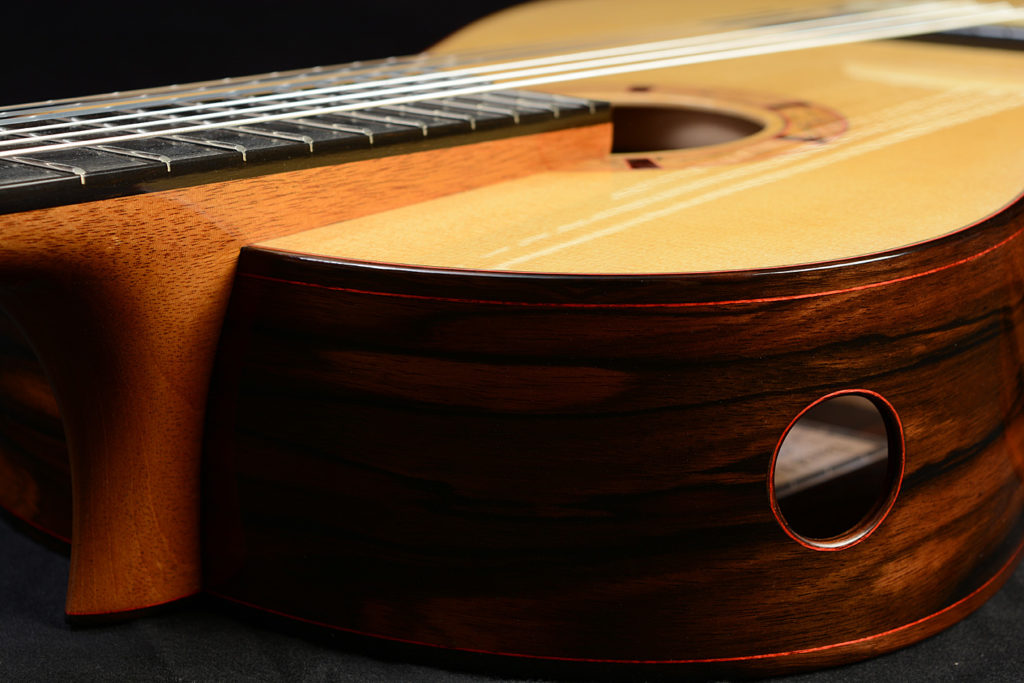 the guitar body for the fingerboard. Many players find that the elevation of the fingerboard above the guitar’s top allows for considerably easier approach to the frets above the neck/body join. The traditional guitar look is maintained (at least from the front view) and valuable real estate of the top is preserved for sound production, which is otherwise lost with a cutaway design. The height of the elevation varies a fair amount among makers, but players tell me that not that much is needed to achieve easier access to the frets. Mine measures 14 mm to the bottom of a standard thickness fingerboard at the 12th fret (where the neck heel meets the body)
I have made two guitars with this feature and did not find much information about successfully pulling this off at the time. I few folks have asked me about it recently, hence this post. My documentation at the time of making was not done with a tutorial in mind, but there may be enough here to inspire your own approach or get you through what I did. I found the joint to be logical, straightforward and in several key aspects, an improvement over more traditional neck joints.
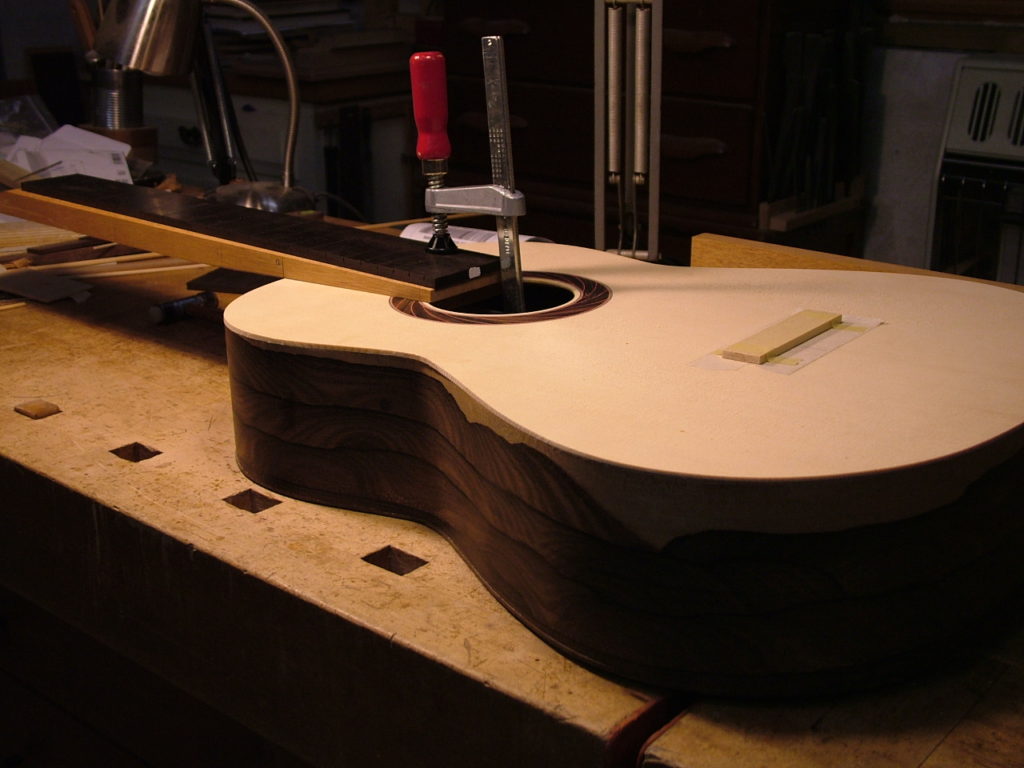
This photo illustrate several key points. First, the fingerboard is pinned to the neck shaft with a couple of small dowels, and is easily removed. There is no built up heel at this point. A shim has been taped to the guitar top to allow for neck alignment and obtaining the correct neck angle (minus frets) A single small dowel pins the neck shaft (temporarily) to the top near the guitar’s end, allowing it to pivot to align the neck with the shim. The correct location is marked with tape on the top on either side of the neck shaft. Planing the underside of the neck shaft allows neck angle adjustment. The neck shaft is re-clamped with the proper alignment, without the fingerboard. Two more small dowels are drilled through the neck shaft into the top near the sound hole to lock the alignment.
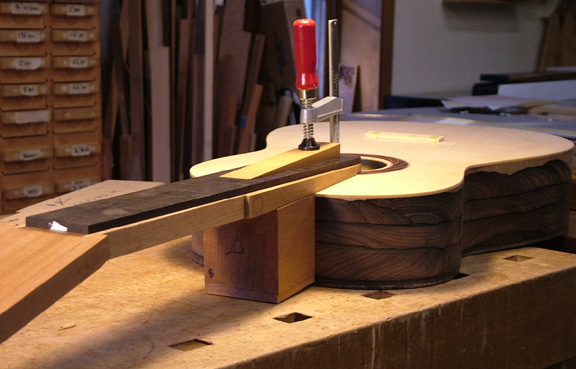
The built up heel block is then fit to both the guitar body and the underside of the neck shaft. To fit the block to the body, the neck shaft was first removed, the curve of the body was roughed into the end-grain of the block with a sanding drum and refined to a close fit with sandpaper taped to the guitar body where the block contacts it. You could also hold the block in place and pull the sandpaper to abrade the contact surface.
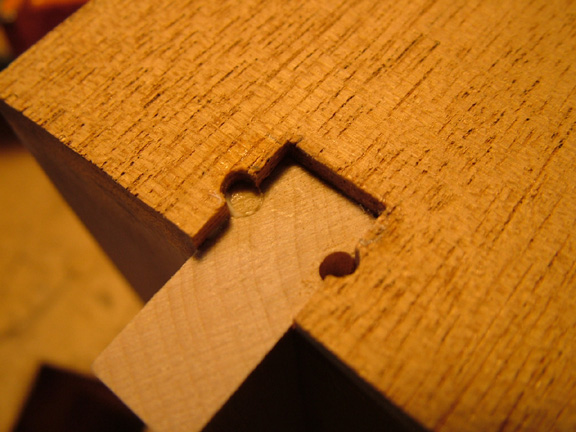
[Note: before all of this the internal neck block and tail block were glued to the sides and then the sides and neck block were dadoed on the table saw to create a neck mortise, seen below]
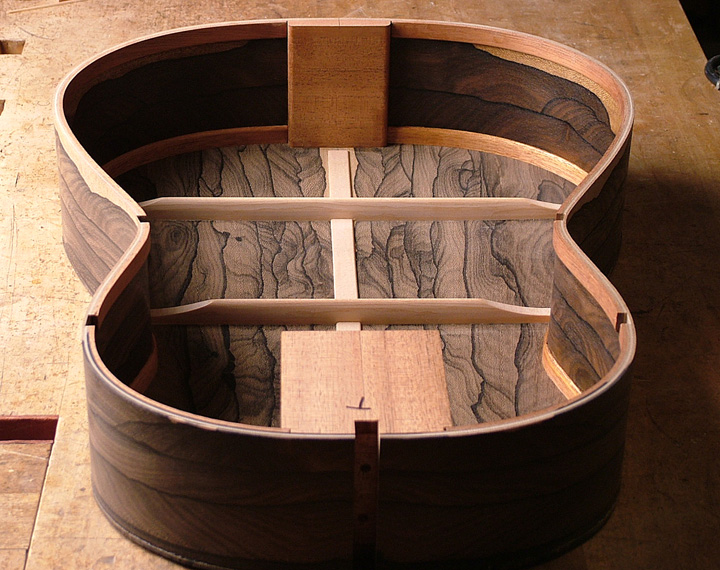
Also, as a sidebar, I made an unconventional neck block with solid mahogany and shop-made mahogany plywood, that is both extremely strong, relatively lightweight and satisfies wood movement considerations in all directions (this guitar has cross-laminated sides).
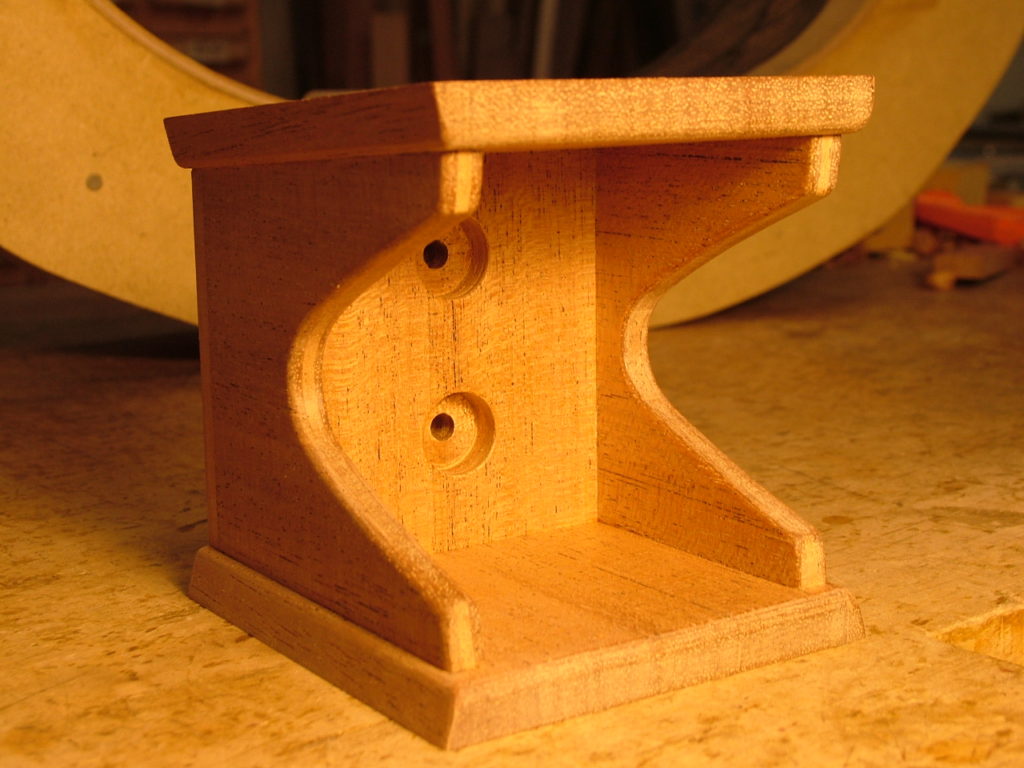
Once the heel block was fitted to the underside of the the neck shaft as well, I dadoed a mortise into it with the same table saw setup used for the neck block, then glued in a “loose tenon” of hard maple. I drilled the tenon for vertical pins to resist mechanical pull.
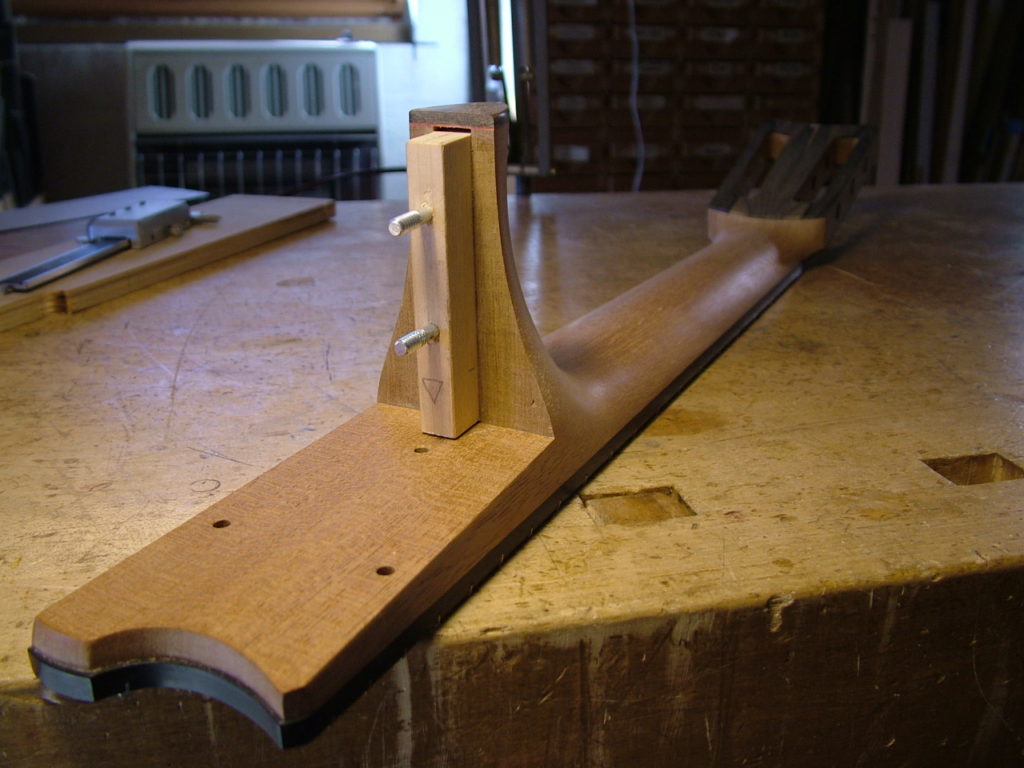
The pre-drilled holes in the neck block were used to mark locations for lag bolts which were installed in the neck. Then the neck was shaped. For the glue-up I used a couple of light beads of liquid hide glue under the neck extension. The glue was thinned a bit to weaken it for easy removal if needed in the future. Only the two locating pins, barely protruding, nearest the fingerboard end, were used in the glue -up.
Perhaps this post will answer some questions and help someone else through the process. Perhaps it will just inspire more questions, or even a very different approach!
