The idea for producing musical sounds using a bow fitted with horsehair is thought to go back at least a thousand years to the nomadic horse cultures of Central Asia, while the modern violin bow was perfected in the mid-to-late 1700’s. With this rich history, bows are a fascinating mix of engineering, material, and refined craftsmanship and an essential element in bringing any great violin to life. And why this interest in bows? With two dedicated teenage violinists in the house, bows are just a part of my life. From replacing or repairing the protective bone tips, to re-gripping the leather holds, to regular re-hairing, I’ve gotten to know and appreciate the intricate beauty and engineering of this amazing bit of of woodworking. Anyhow, I recently re-haired both girls bows and thought you might enjoy a peek into what this is about.
Update 10/3/2013: It should be said that bow work is rather tricky and quite delicate and if you are interested in trying this yourself, be certain your bow is a cheap one — you could easily suffer a complete fail until you have gained experience! (Thanks to Andrew Bellis’ comment for pushing this point). The following is not meant as a tutorial, simply a chronicle of some of the work that I do.
Update 3/26/202o: I wrote this article after one year of experience rehairing bows. It is still not something I do a lot of, but I have gotten better at it 7 years later and changed how I do a couple of things:
- Start at the frog end and finish the job at that end before beginning at the tip. Going this way allows me to fine tune the hair lengths more accurately and now it is rare to have even one loose hair, nor is flaming the hairs ever needed to tighten hairs up.
- I use a drop or two of water thin super glue applied with a micro-pipette to secure the thread, knots and hairs instead of rosin — more effective and neater.
Well, here’s a bow and a very handy fixture for securely holding the bow while it’s being worked on. It’s made to gently clamp the bow at the tip and frog end (the ebony grip is called the frog) and accommodate various length bows.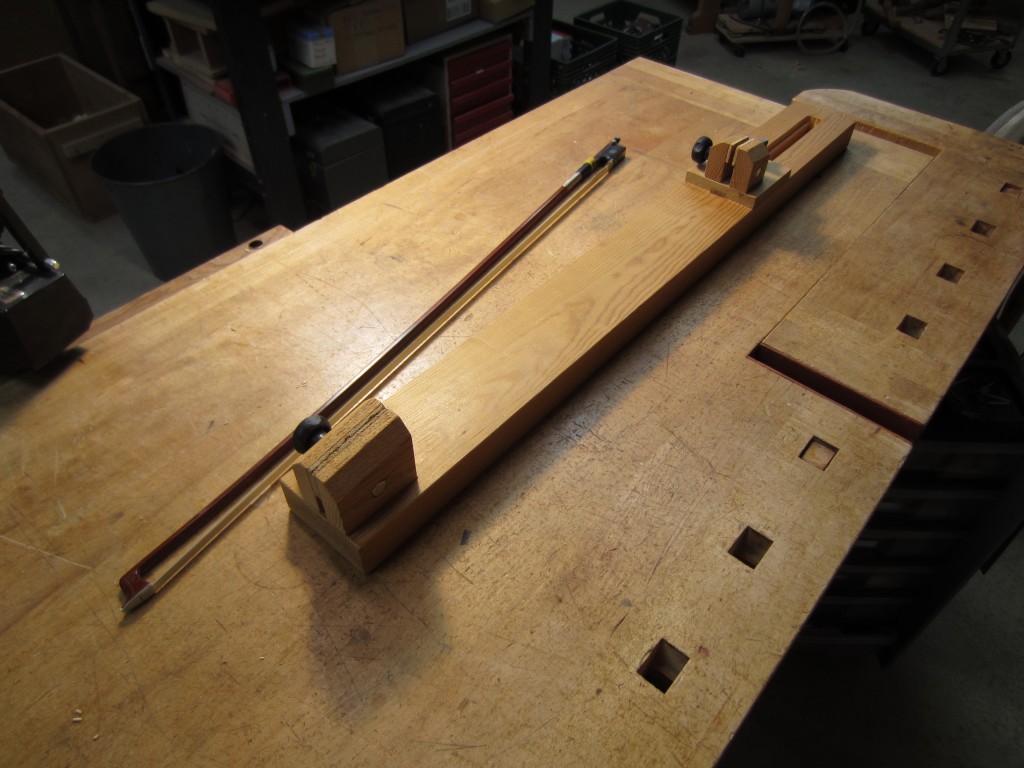
After inspecting the bow, I remove the frog from the stick and fold back the hair at the tip end in order to remove the small wooden plug that secures the hair to the bow tip. The plug should not be glued in. It’s unique compound wedged shape allows it to lock in place due to the pulling action of the hair. Sometimes, however, it takes a bit of digging to remove the plug. If it stays intact then I may reuse it.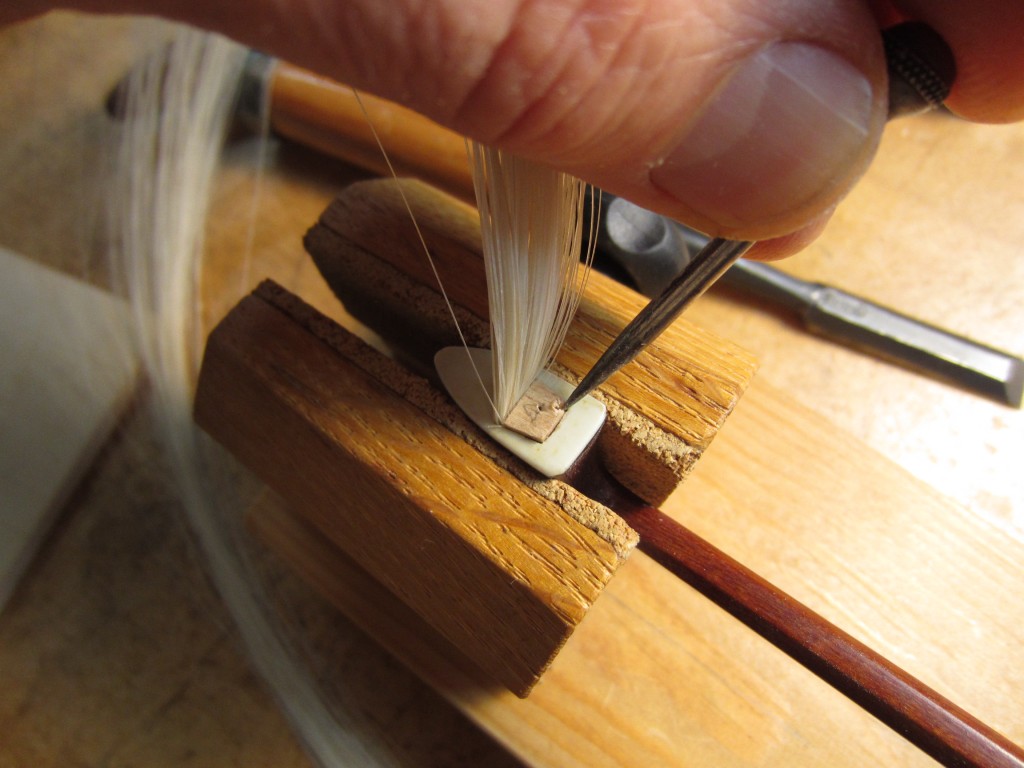
The plug is quite small as you can appreciate in this picture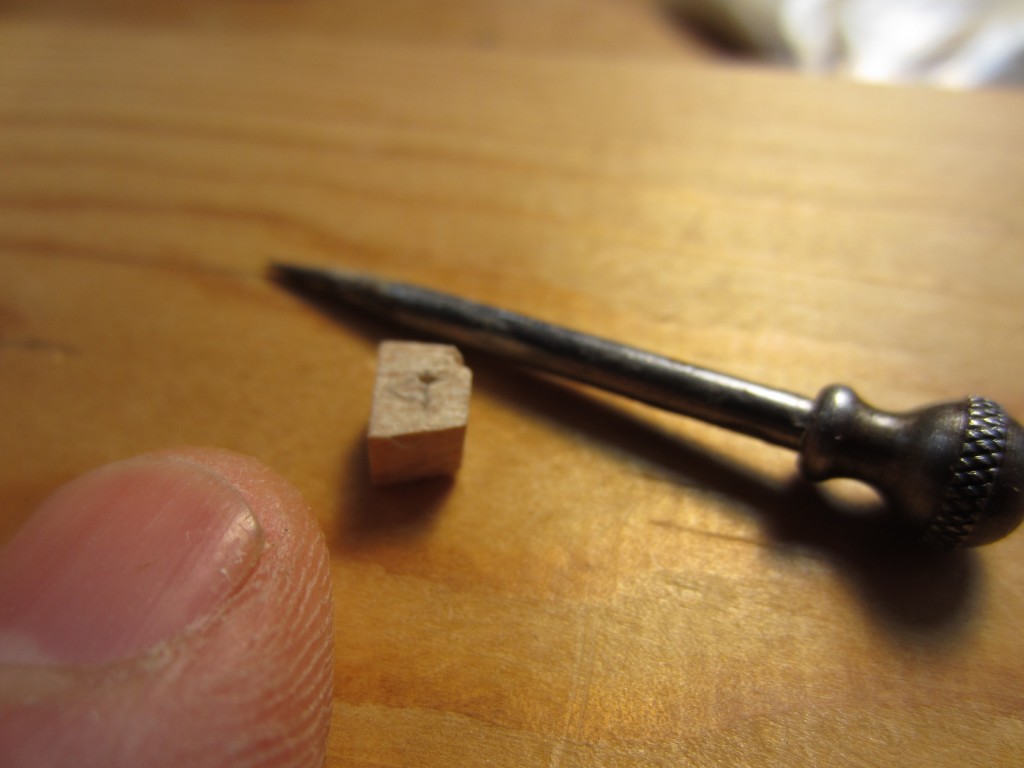 !
!
Once the plug is removed the bundled hairs are pulled out of the mortise. Now it is time to remove the old hairs from the frog.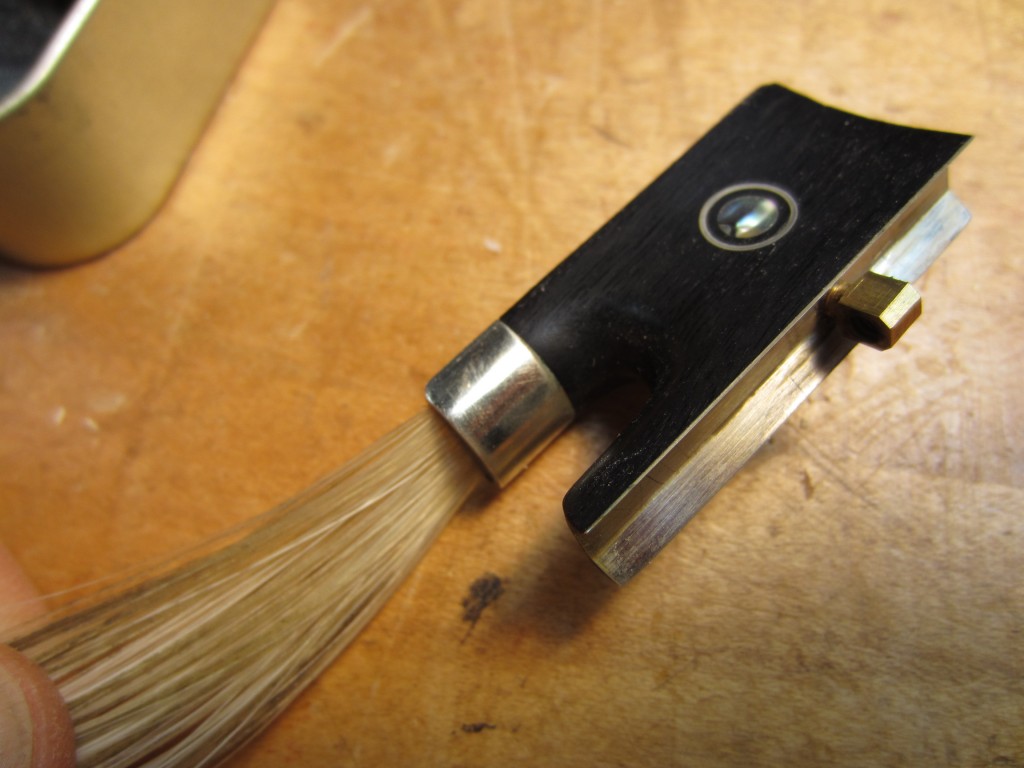
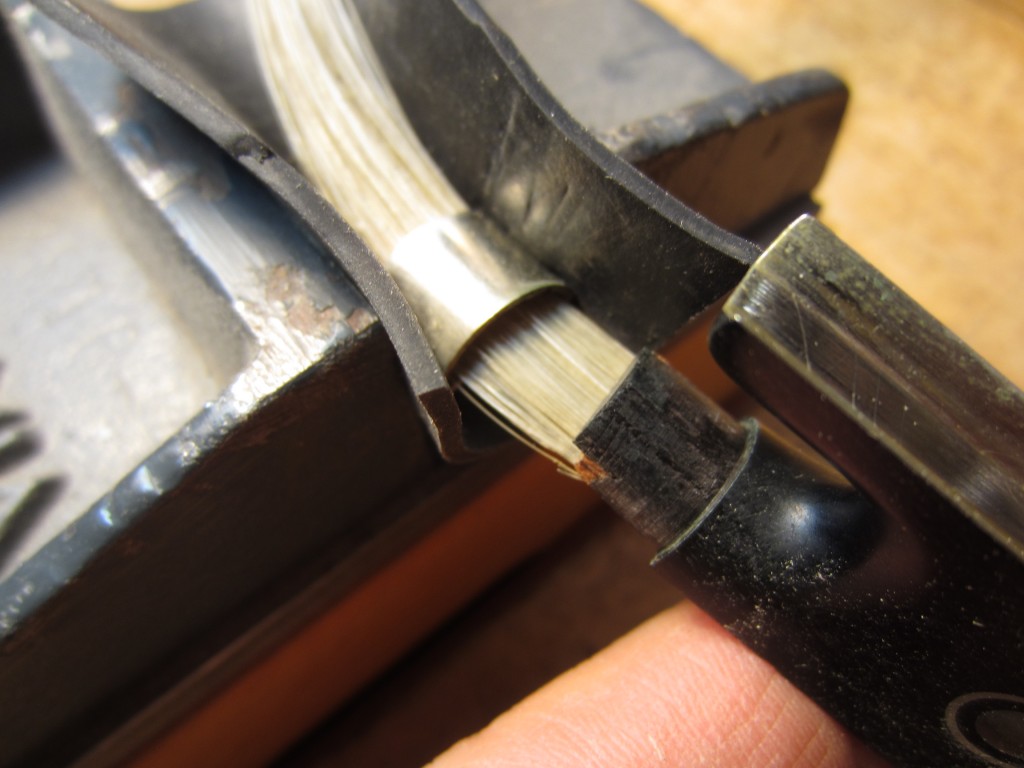
The metal ferrule is a tight fit and needs to be pulled off carefully. I use a piece of rubber and a small vise.
The small triangle of wood is called the spreader — it serves to do just that — spread the hairs into an even band. A drop of glue holds it in place and as a result they often get ruined during removal. I always replace these anyhow to ensure a proper fit with the new bundle of hair. 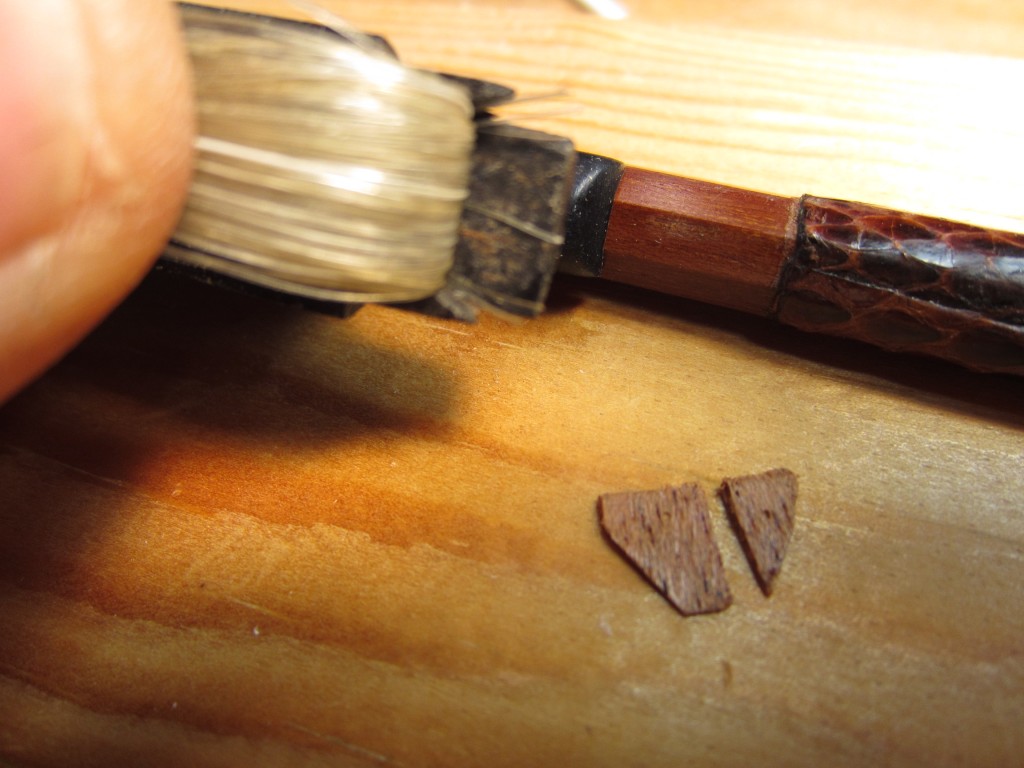
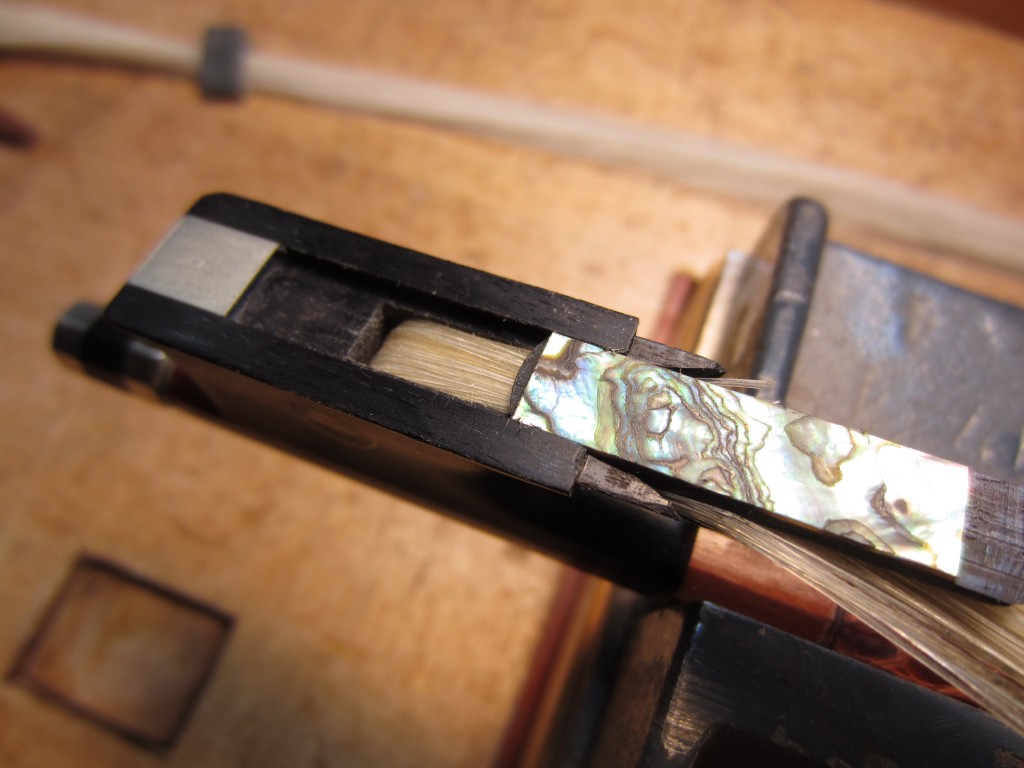
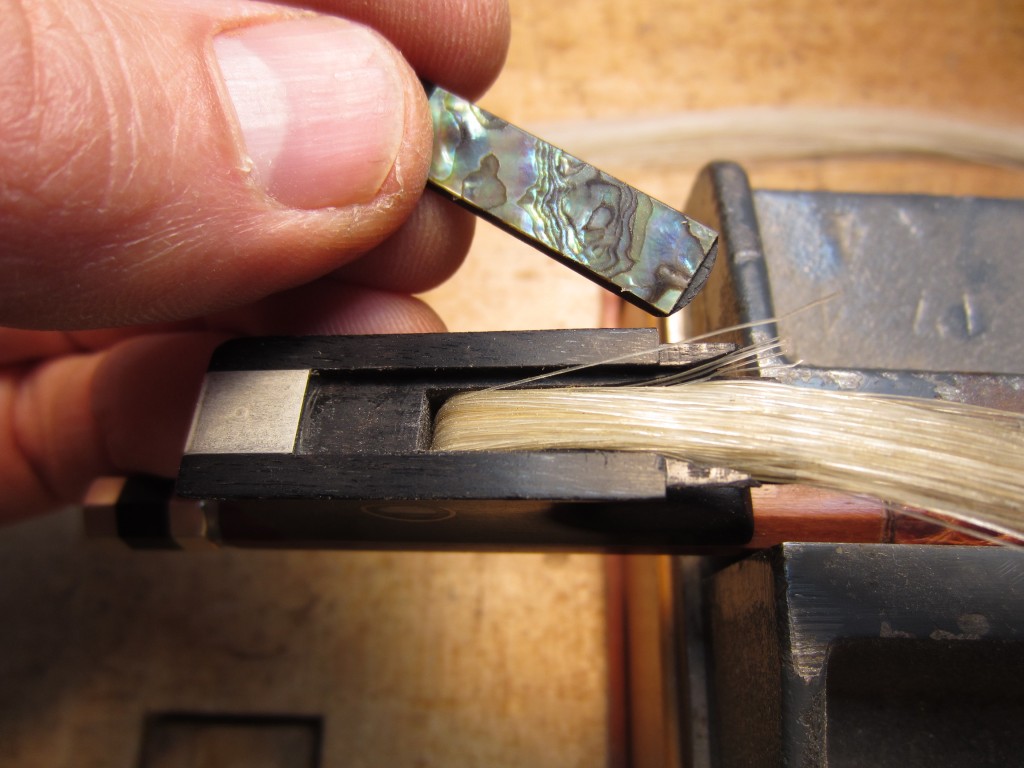
Next the abalone slide is removed. It has angled edges that fit into the channel creating a dovetailed way. These also can be recalcitrant due to tight fits and rosin buildups!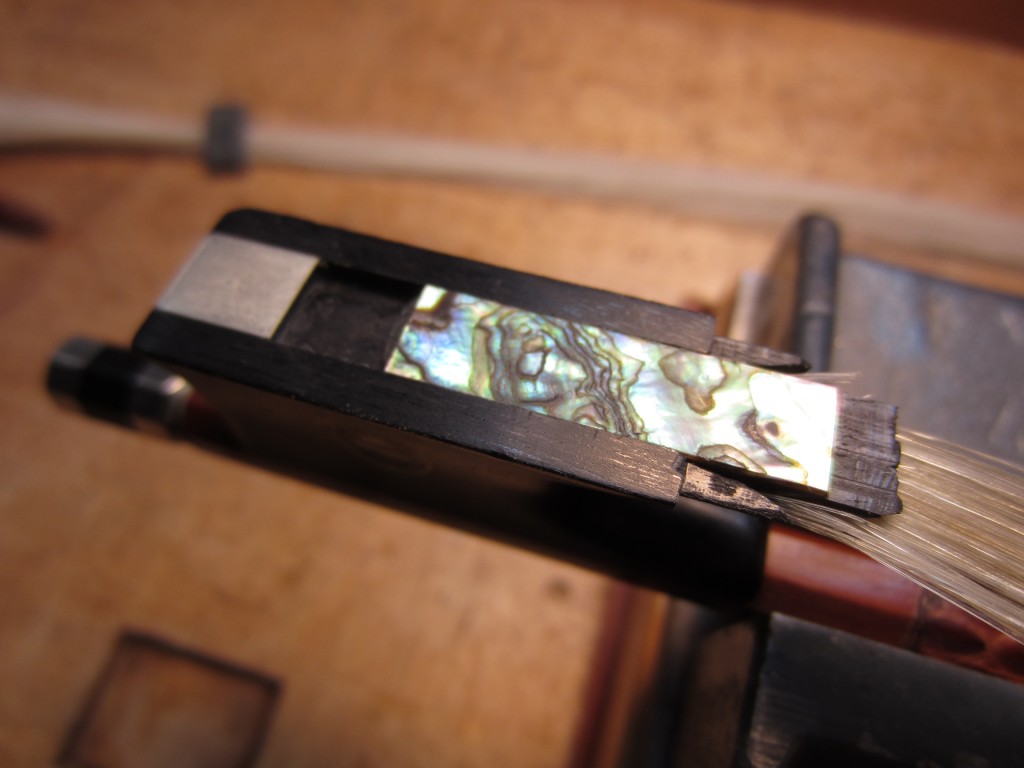
Fold back the hairs and the frog-end plug can be seen and then removed.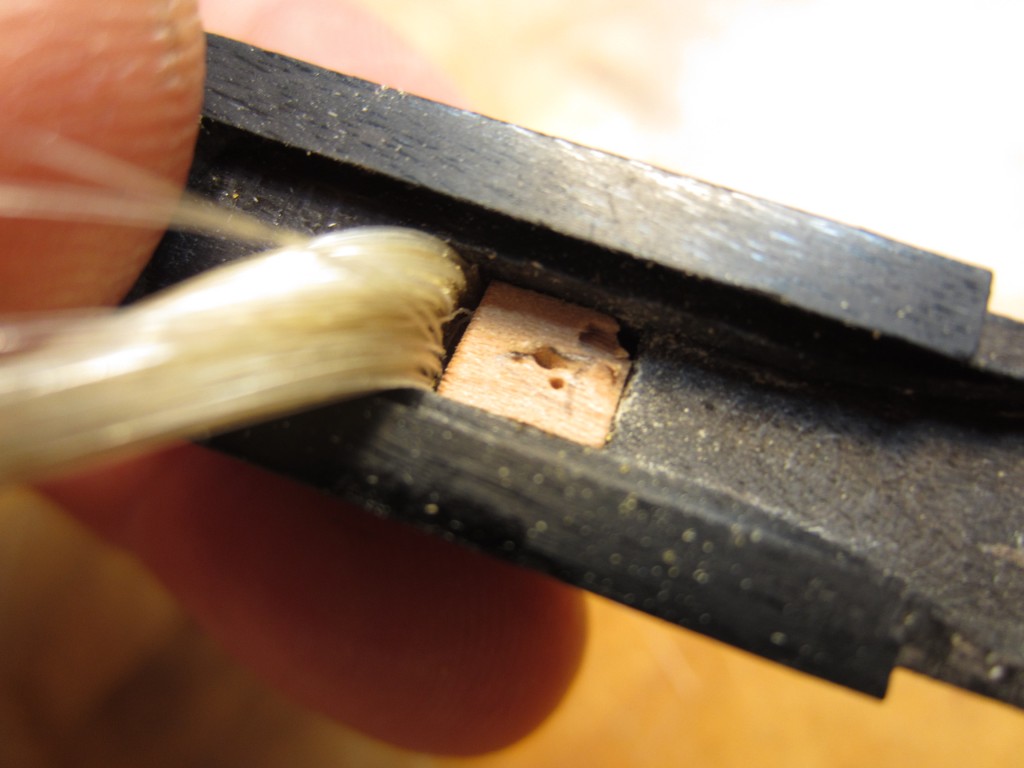
The frog is carefully cleaned, metal parts polished, and the channels for the slide are lubricated with graphite (pencil). After selecting and measuring a new hank of hair I tie the end off tightly with very strong thread. I use three clove hitches — a self binding knot – finished off with a reef knot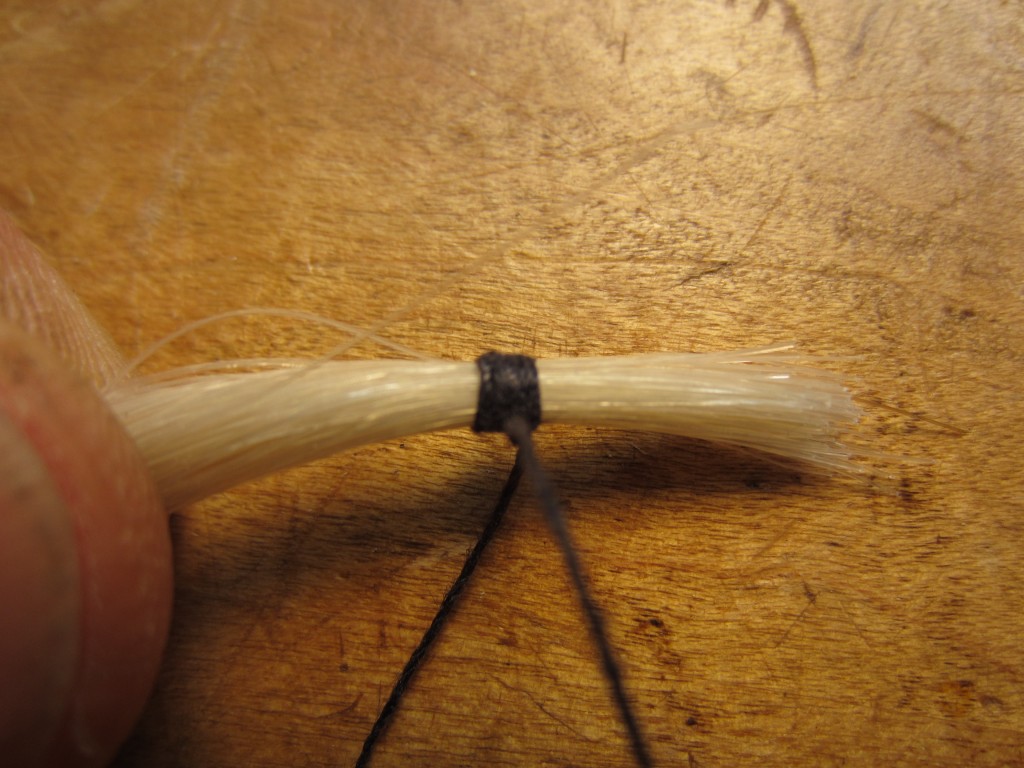 .
.
The end is then dipped in powdered rosin.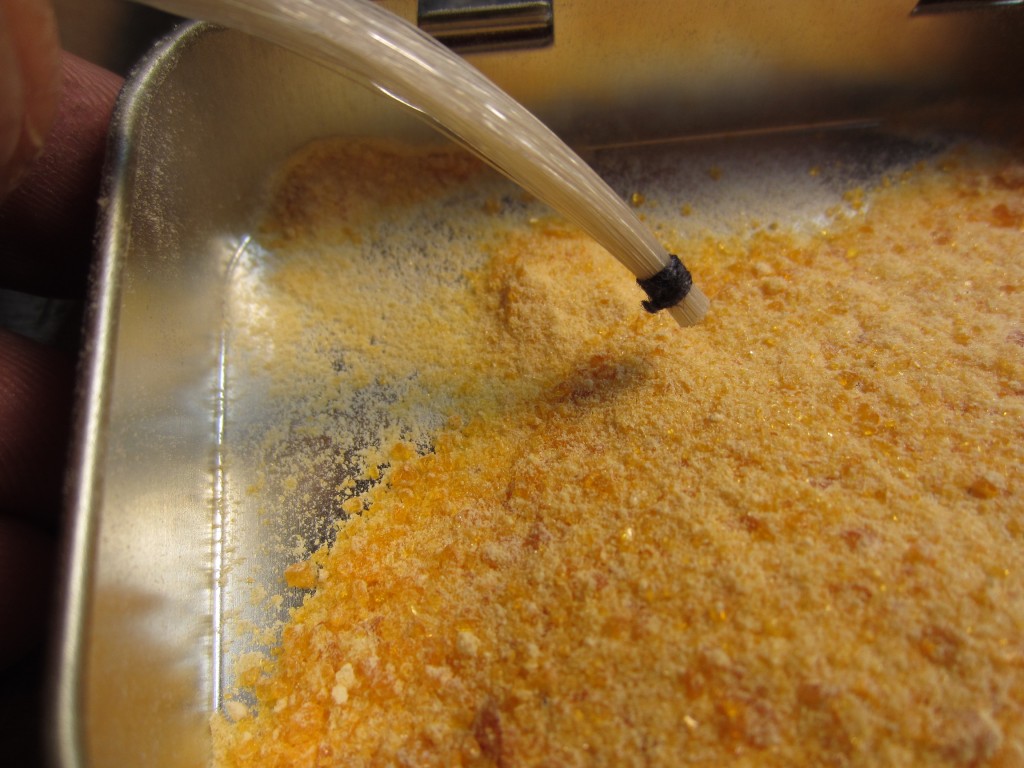
Then the rosin is melted into the hair, using an alcohol lamp, while the heat also serves to swell the hair ends, locking them firmly in place. All of these efforts are taken to prevent hairs from pulling out while the bow is in use.
You can start attaching the hair at either end, but I prefer to begin at the tip. Insert the hair so the knot is settled at the bottom of the mortise and then takes a bend to come up the back wall.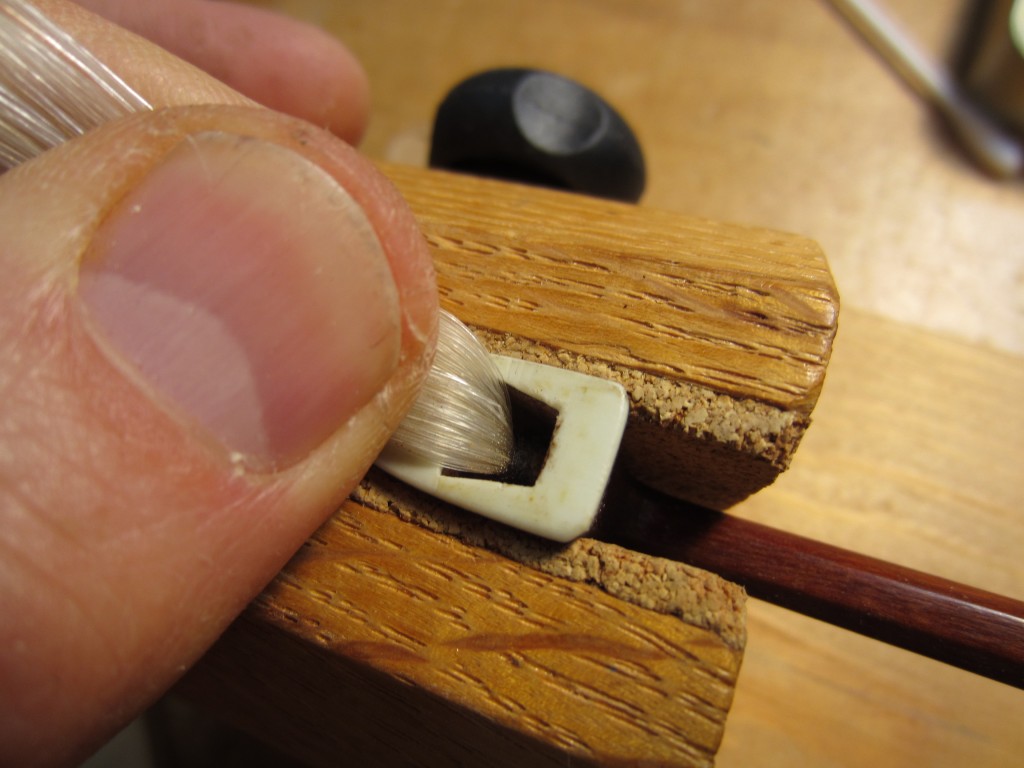
Then insert the plug to capture the hair bundle. I reused the old one which was made of hard maple and still seemed serviceable despite the small chip in the corner. I always give firm pressure on the hank of hair at this point, simulating use, to be sure that the plug is working properly and will hold the hair in place.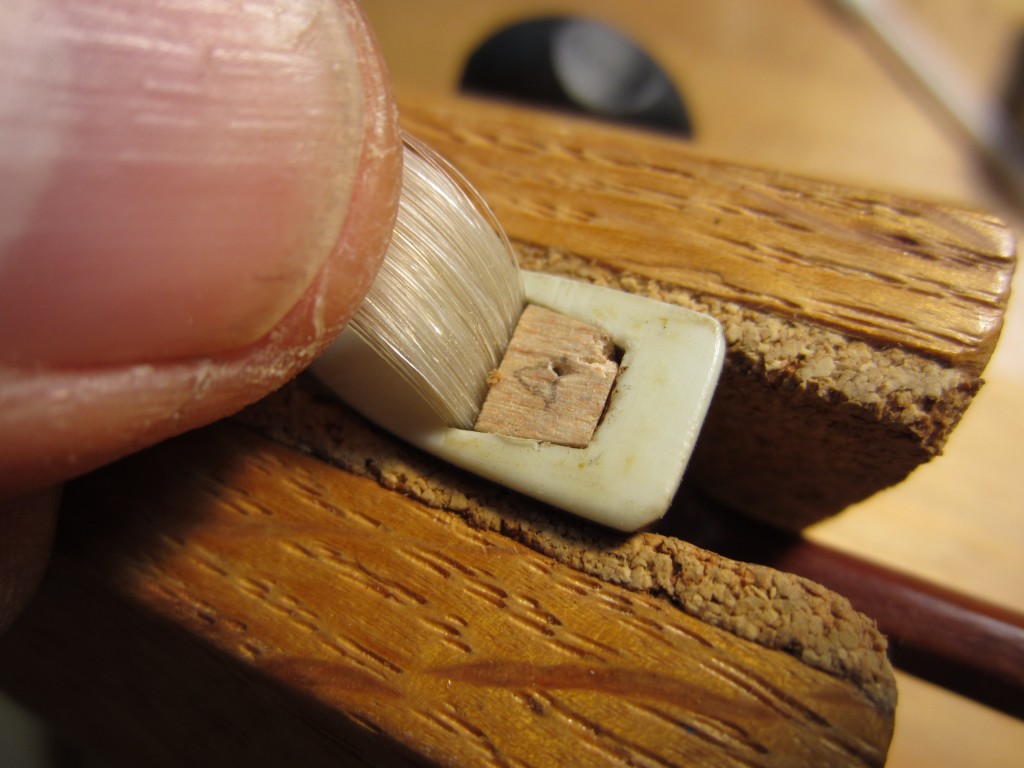
After a bit of preliminary combing to straighten and spread the hairs evenly, I use a rubber band to pull the hairs down tightly at the tip.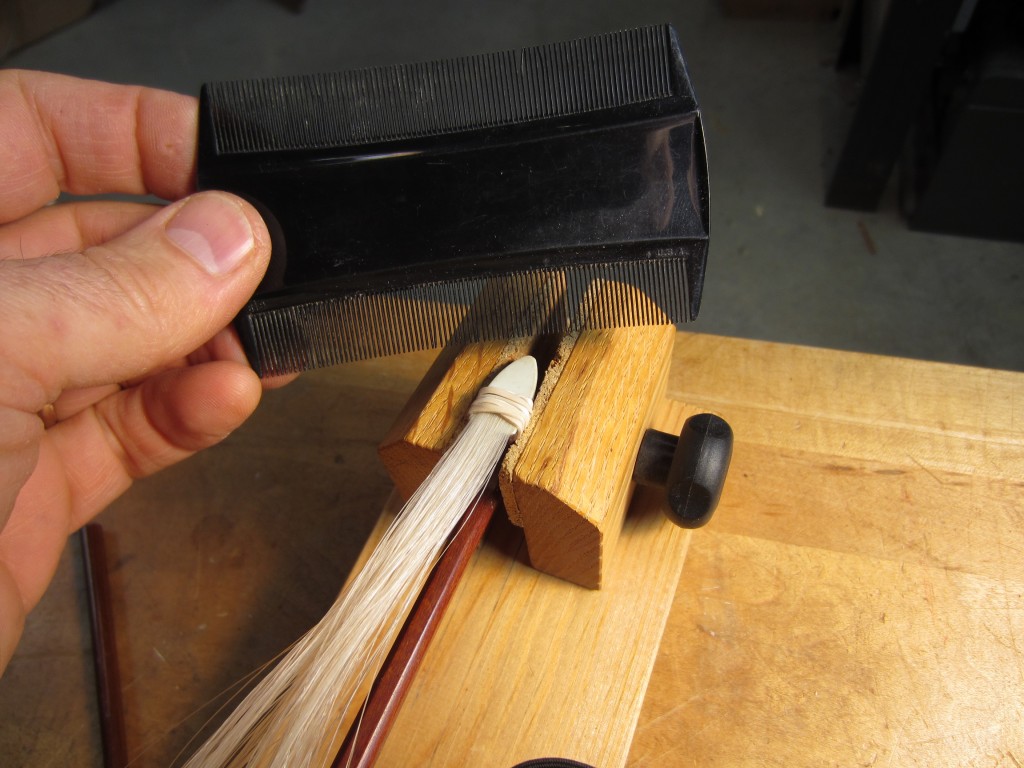
Next, I wet the hairs, comb and tension them and tie off the frog end. Now is the time to thread the ferrule onto the hank. Slide it up out of the way. Then the plug is inserted to capture the hank in the frog.
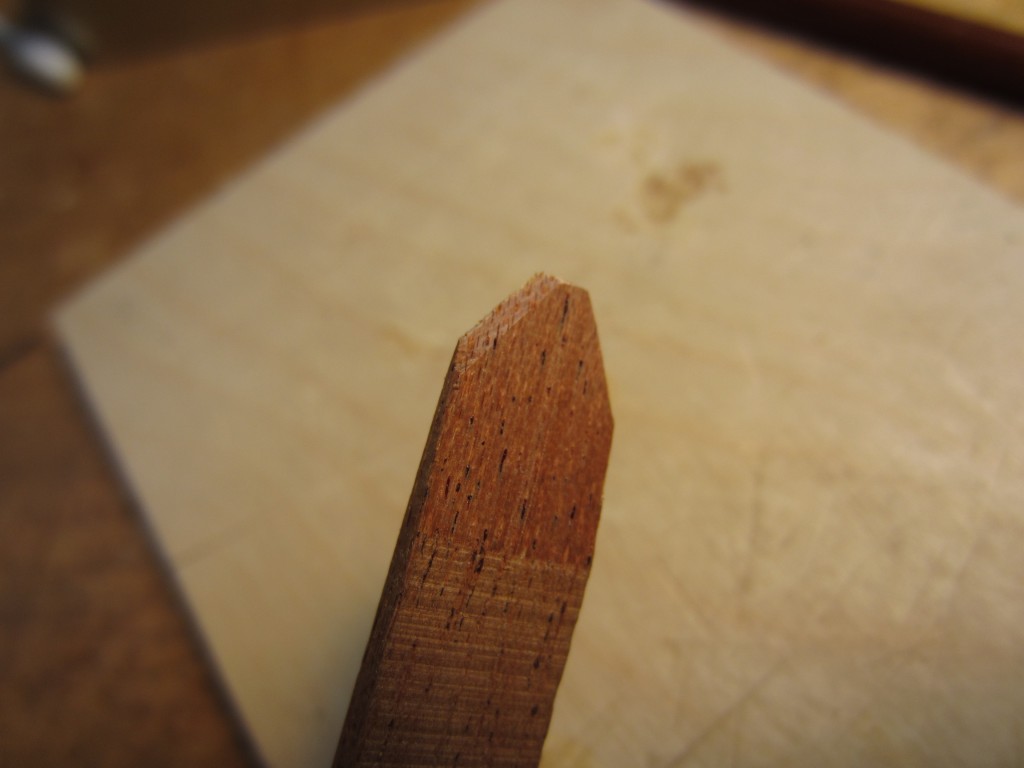
The frog is installed on the stick. The abalone slide is slipped into place and the ferrule is put back on — it goes on easily without the pressure of the spreader clamping it. Here is some mahogany that has been shaped for a spreader. I insert it as is and mark and score it a little oversize for length.
Finally, a dot of glue goes on the tip that will be against the ebony of the frog. the spreader is inserted into the ferrule, separated at the score mark and the hairs carefully fanned out and evenly distributed. Then the spreader is pushed all the way home.
It’s a good job if the bow hairs all tighten up evenly when the bow is tensioned and all the hairs are properly aligned.
Until next time!
dF

114 Responses to Horsehair and Wood: Re-hairing a Violin Bow