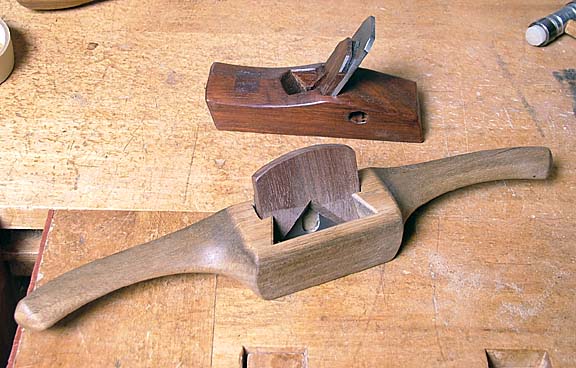
One of the most empowering things I learned as a student at the College of the Redwoods Fine Woodworking Program many moons ago was the idea that first you think of where you want to go and then you figure out how to get there. As woodworkers we are often limited by our tools, whether it’s tuning them up to work properly or not having the correct tool for the job at hand. Perhaps it’s a specially shaped knife or chisel or hand plane that’s needed to do something well. In my case, as I mentioned in the last post, the red oak I was shaping into table legs was giving me fits. It had a stringiness that resulted in tear-out no matter the lightness of the cut or the sharpness of the blade when I attacked it with my spokeshave. I had one of these little cheap-o Indonesian hand planes laying around and gave it a try on the red oak. The 65 degree bed angle did the trick beautifully allowing for nice shavings without a trace of tear-out.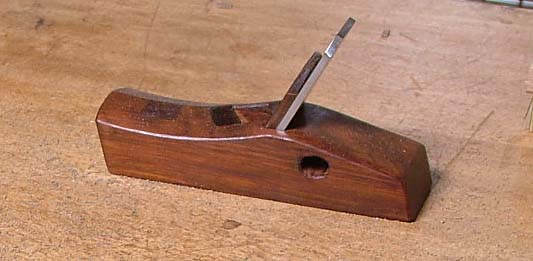
I decided to attempt a spokeshave using the same general layout. This was venturing into territory I had not previously explored. First I had to wrap my mind around the layout so I drew it out on a scrap of maple. I lined up a side view and top view so I would know were to place my cuts.
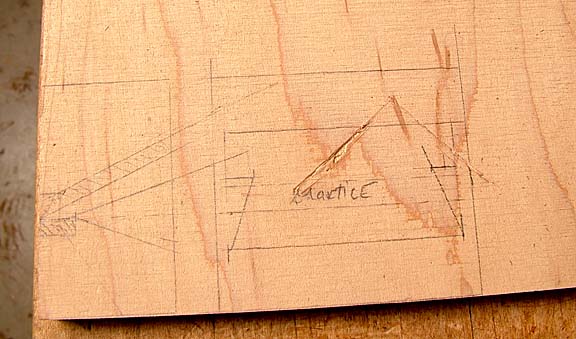
I reproduced this same layout on my blank and chopped the openings. There is a brass wear strip inlayed into the front of the throat opening (it is indicated in the sketch above as a cross-hatched area at the tip of the blade). The ends of a strip of 1/8″ brass were beveled to 45 deg. on a disc sander. I knifed the outline into the sole, chopped out the waste, and press-fit the strip into place. Then I shaped up the handles:
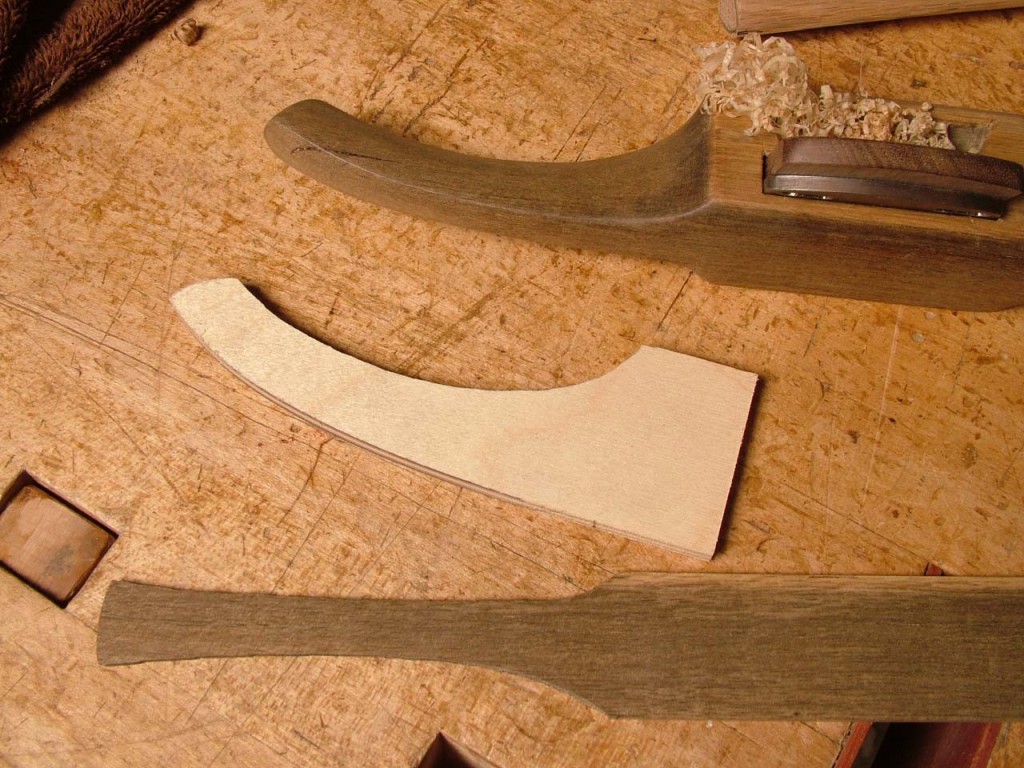
Here’s the finished tool along with the templates used to layout the handle shapes. This tool was made from persimmon:
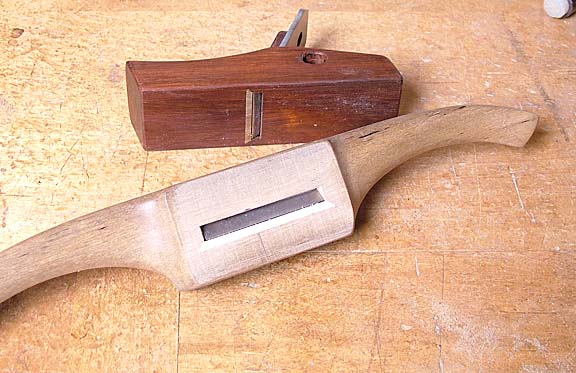
Here’s the brass wear strip inlayed in the bottom:
The finished spokeshave worked like a charm!
Until next time…
df


6 Responses to A Steep-Angle Wooden Spokeshave