Though I have yet to chronicle my progress, I have been at work from time to time on my first violin. As mentioned before, my dad dreamed of building a violin, but never quite got around to it. When he passed away the notion got hold of me to pick up on that dream. With two violin playing daughters it was even harder to ignore the call and so with some trepidation and more than a little excitement I picked up spruce and curly maple and dove in. Realizing there are many fine books on the subject and many others with much more expertise than I who have filled pages on the internet, my aim here is just to give a quick overview on my progress as the project takes shape. Perhaps you’ll be inspired to give it a go yourself…
The maple for the back planed beautifully, as you can see. This comes from a store of lovely maple that I been seasoning for well over twenty years. It’s hard maple rather than the traditional soft, so I’ll have to dimension the back thinner than is usual. I’m removing milling marks prior to glue-up.
I have little experience with traditional hot hide-glue so it’s been a lot of fun learning to use it. Here’s my first attempt at a “rubbed joint”. Hide glue shrinks in on itself as it dries, drawing a closely fitted joint even tighter together — clamps are not needed.
This is the Englemann spruce top being joined.
Next I built a half-template and mold based on a drawing of a Joseph Guarneri violin provided with an old how-to booklet on violin making.
The mold serves to hold the corner blocks in place as the sides are glued. Here’s the mold with the recesses for the corner blocks positioned and cut.
Now the corner blocks are spot glued in place
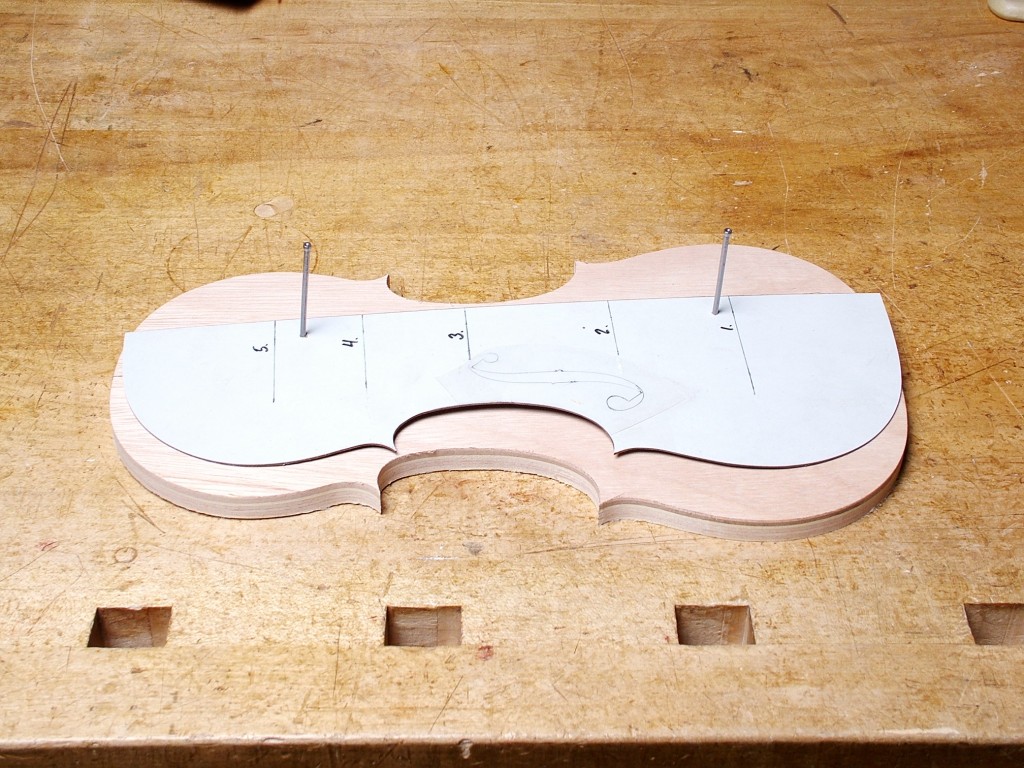
The half template is indexed to the form using the nails pictured above and is used to trace the curves of the sides onto the corner blocks, which are then carved to shape.
The sides (or “ribs”) are all bent on an electric bending iron. This is a setup for gluing the “C-bout” to the corner blocks.
Here’s how the rest of the side pieces were glued on.
Until next time!
df


7 Responses to A First Violin – 1st Installment