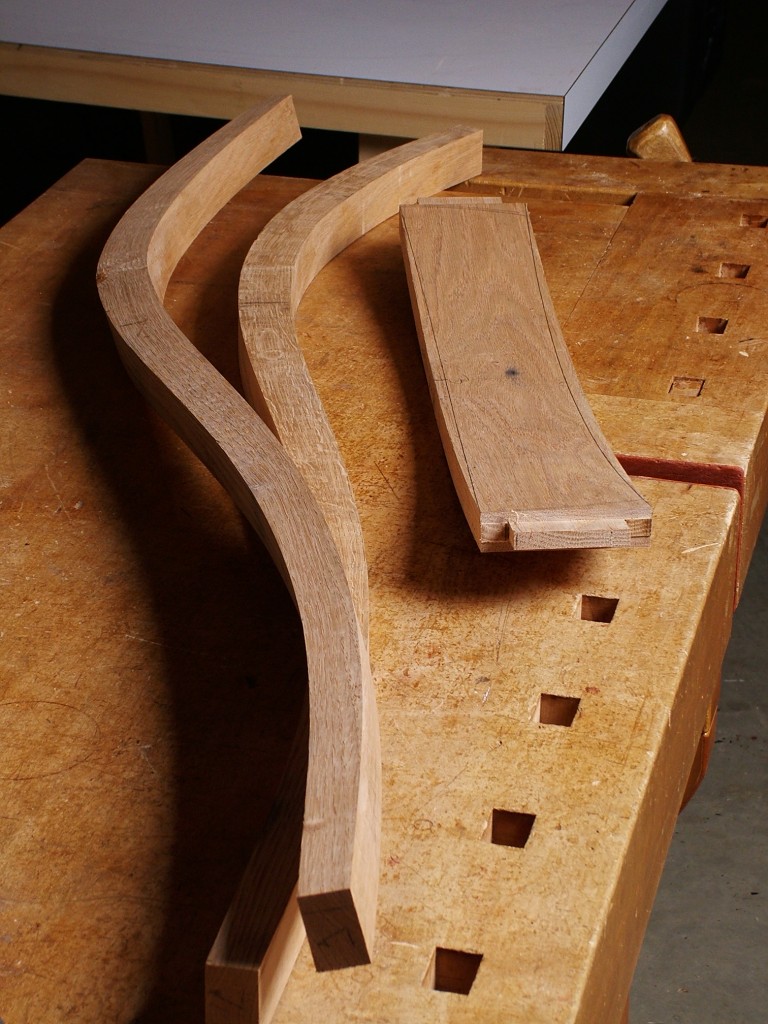
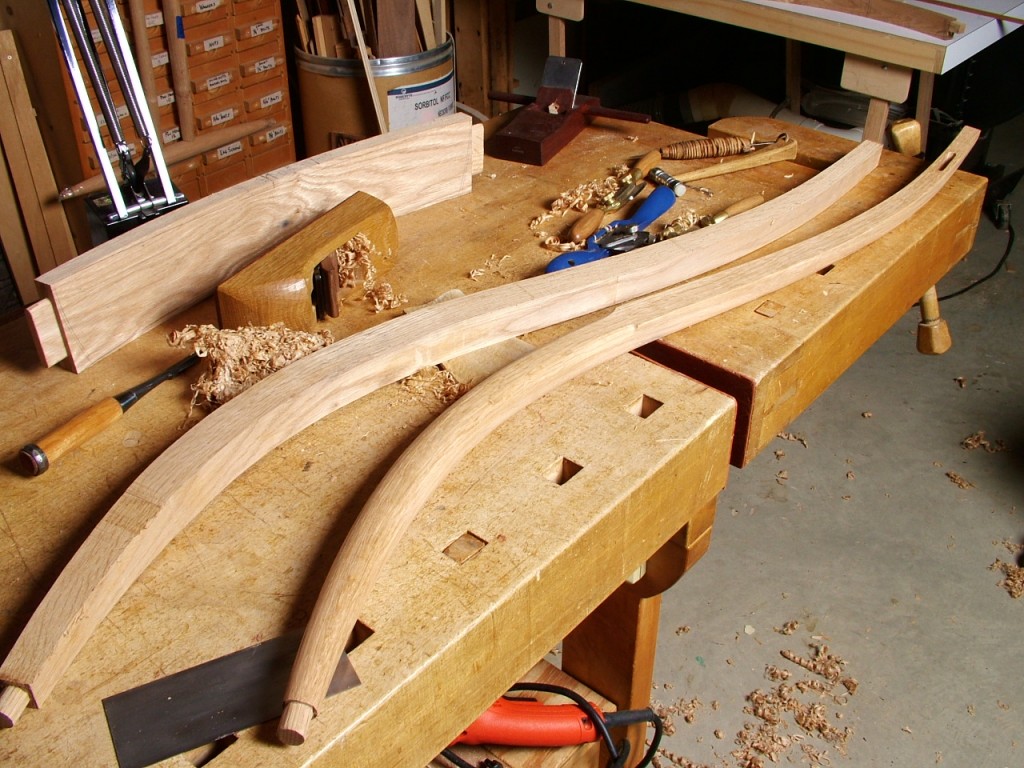
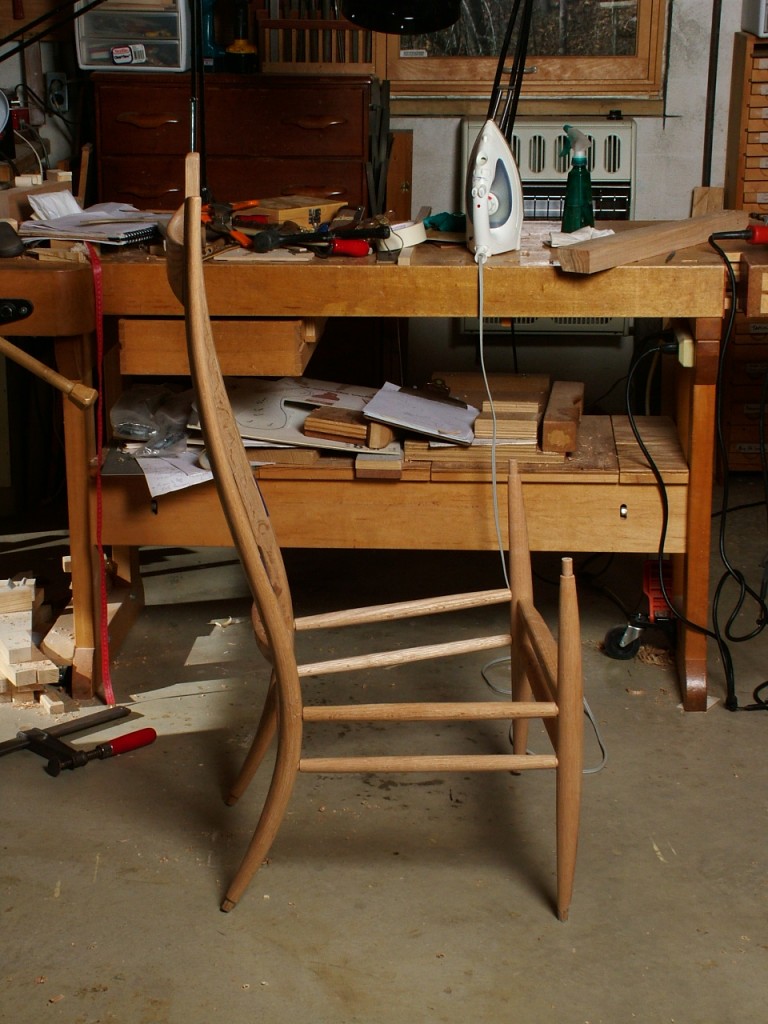
I’m working on the back assembly now. Here’s the the two back posts and crest rail.
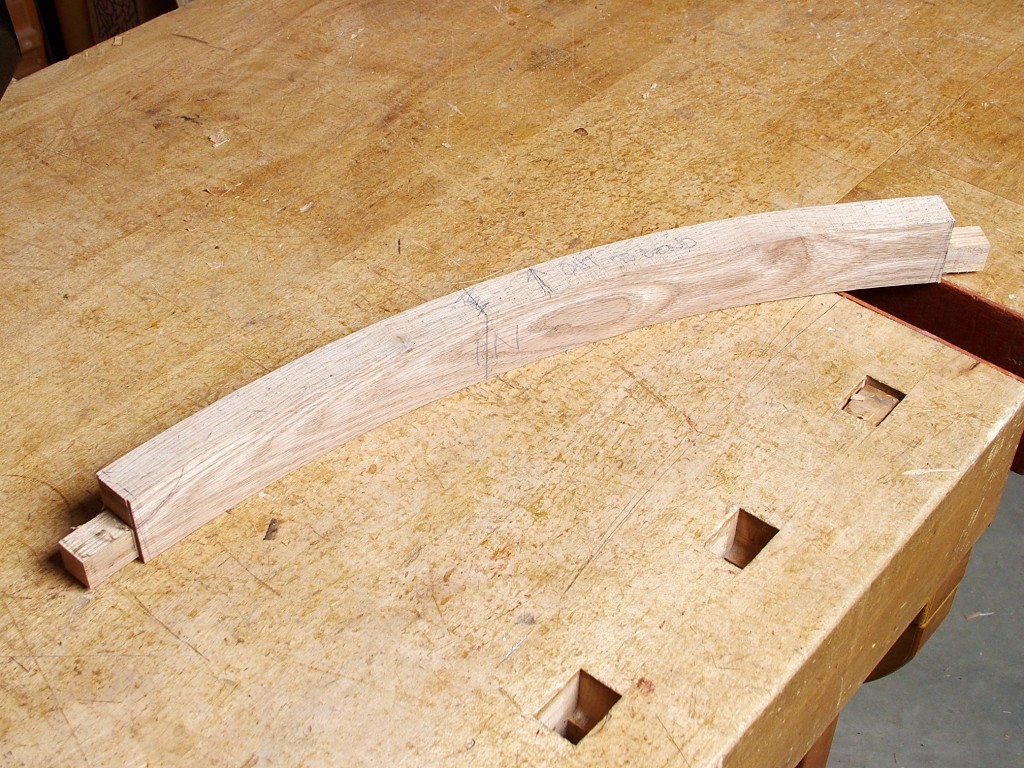
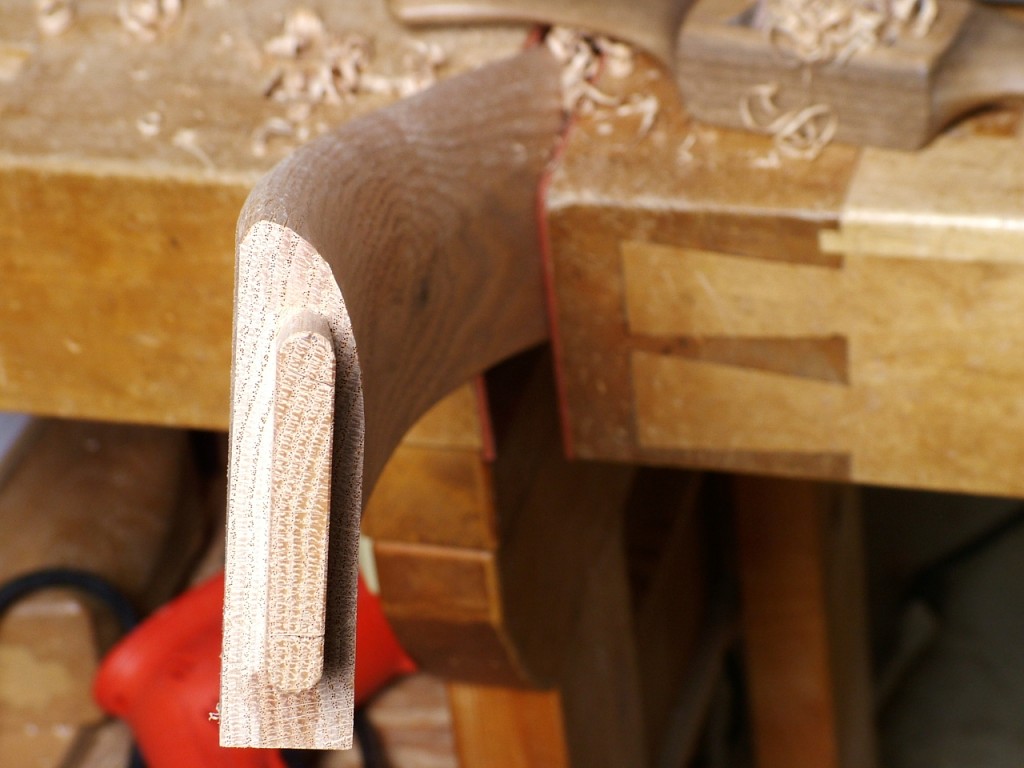
The crest rail has been tenoned and the mating mortices of the back posts formed as well. The crest rail curvature and length determines the spacing and splay of the back posts making it a pivotal component to the overall success of the chair.
With the crest rail dry-fit to the posts the spacing between the posts is set so the back splat rail is cut to length and tenoned.
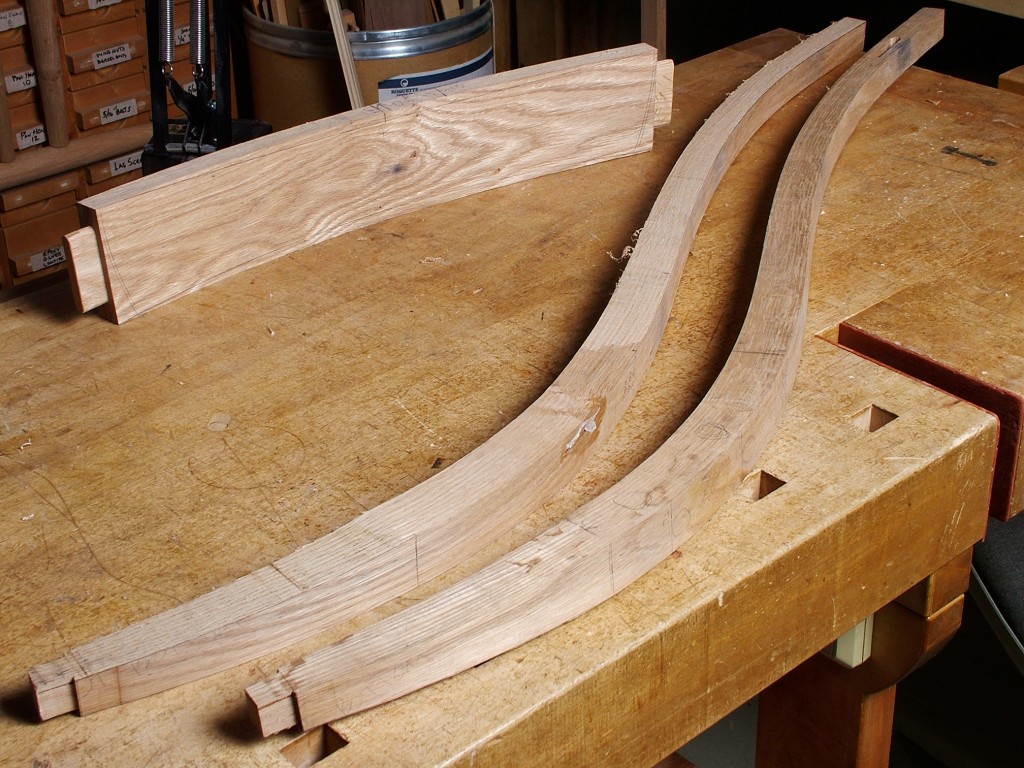
Since the crest rail will be glued and pinned and the two rungs of the back assembly will be as well, I’ll leave the back splat rail unglued. This simplifies the glueup of the back assembly and lets me fine tune the rotational position of the back splat rail without struggling against seizing glue. Now I’ve tapered the back posts at both ends and got the tenons that will insert into the rockers roughed on the band saw.
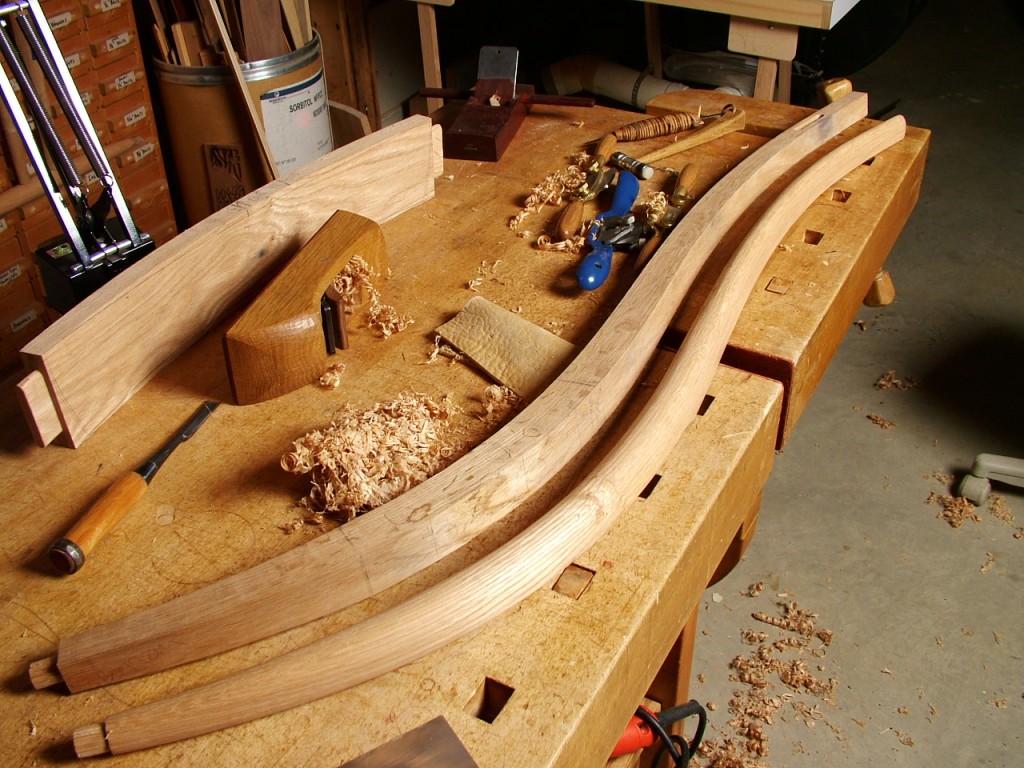
And now it’s on to shaping the back posts. They are tapered cylinders at the bottom and transition to parabolic in cross-section at the height of the back splat rail.
Contouring the crest rail.
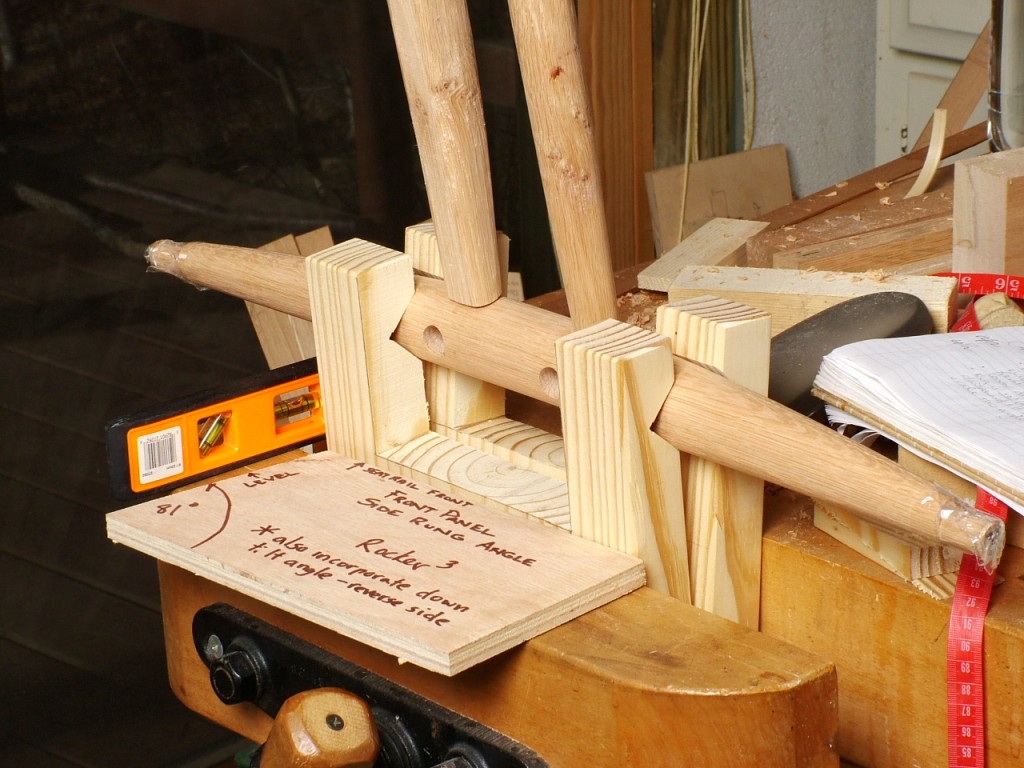
This is the setup I used to drill the angled mortices in the front assembly. The simple holding jig is copied from the method described in Drew Langsner’s “Chairmaker’s Workshop” book.
With the plywood template held against the front seat-rung and the torpedo level resting on the template the front assembly is angled until leveled and then clamped in place. The drilling is done with the aid of a level as well and since the side-rungs are not perpendicular to the front assembly, that tilt angle is also incorporated in the drilling.
I dry-fit the back panel with the crest and back splat rail, then drilled for the seat- and lower-rung of the back assembly, and finally glued up the back assembly. Drilling the side-rung mortices into the back posts is probably the trickiest step of the entire chair, and unfortunately, the one step I did not document as I was so focused on getting it done right! If words will suffice, I first used my back panel mockup to determine the side seat-rung angle in relation to a flat surface when the back assembly was resting on that surface. I recorded that with a simple bevel gauge — a foot-long 2 x 4 with the end of a batten attached to one side in the middle with a single screw that is tightened enough to hold the batten in position as needed. A second similar bevel gauge gives the splay and the drill is aligned to the two bevel gauges for drilling.
With the side-rung mortices drilled in the front and back assemblies I fit a dummy side seat-rung of correct length to each side so I could get a length measurement for the lower side-rungs.
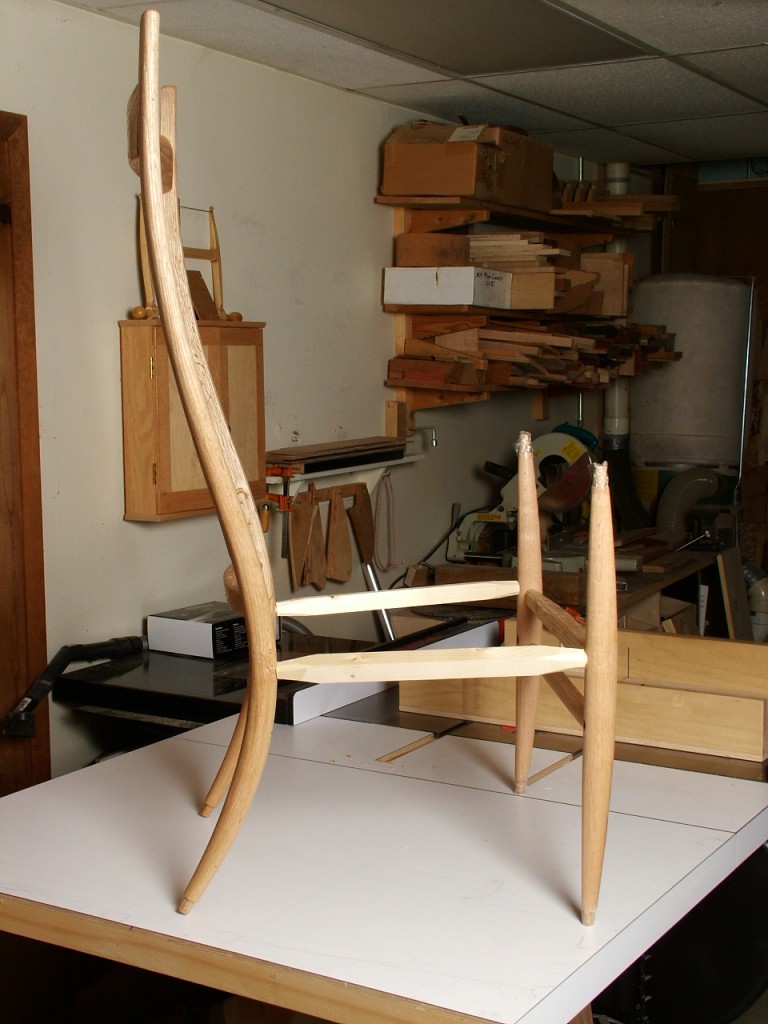
After shaping, drying, and tenoning the side-rungs the chair is really taking shape!
Until next time!
df

